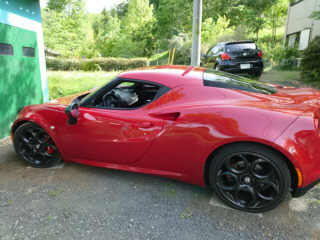
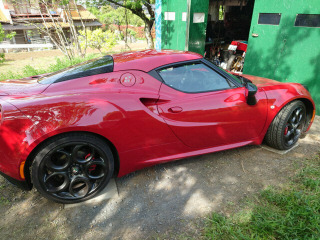
Alfa Romeo
4C
2021年
4月24日
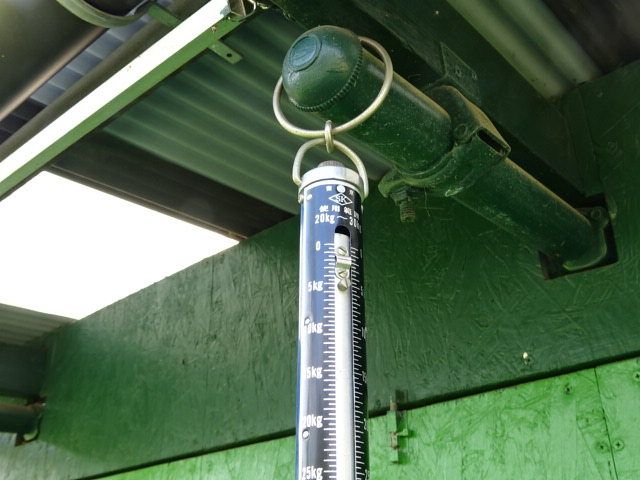
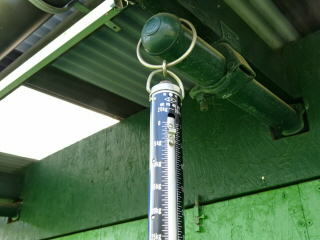
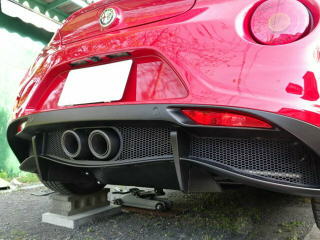
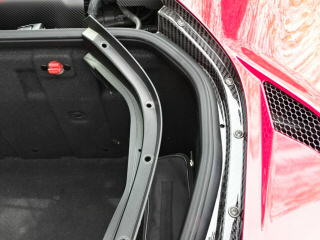
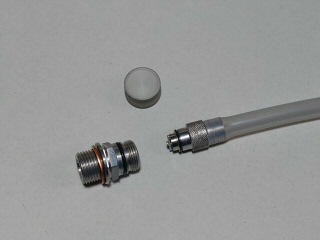
センタマフラの続きです。変換アダプタ無しで、重さを測っておきます。約2Kgです。
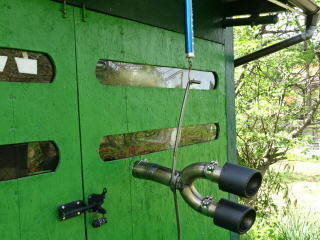
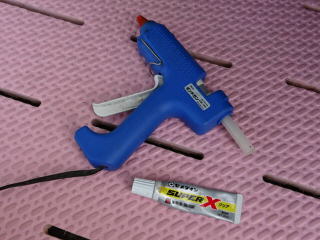
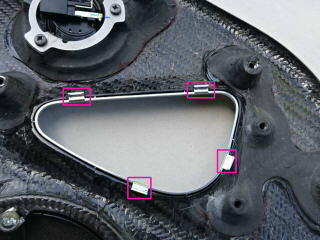
先週と同様にリアを重量ブロックとコンクリ平板で持ち上げて作業します。センタグリルを取り付けます。ホットメルトと以前にサイドミラーカバーの取り付けに使ったセメダインのスーパXです。ホットメルトで仮止めして、クリップとスーパXで固定しました。
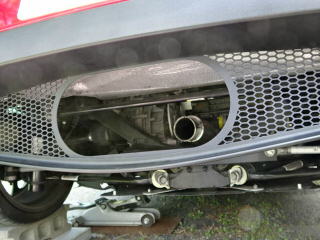
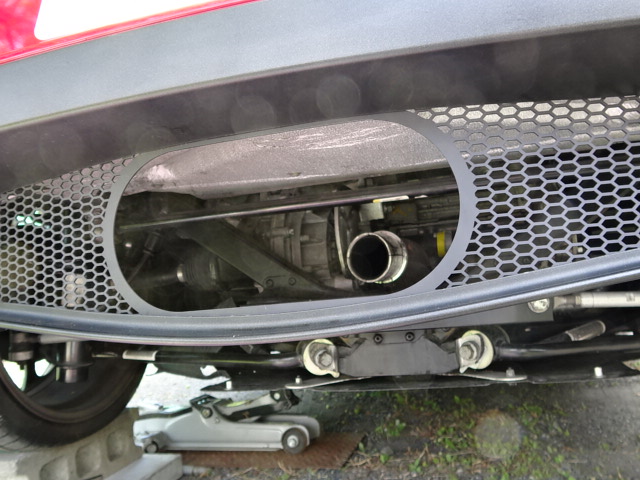
ディフューザは鉄のフランジナットをやめて、ステンレスのナイロンナットとワッシャに交換しました。
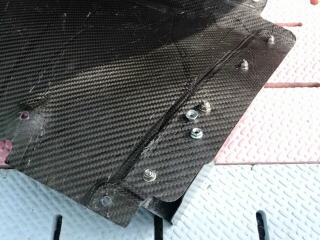
タッピングネジの穴が未加工なので、穴開けします。
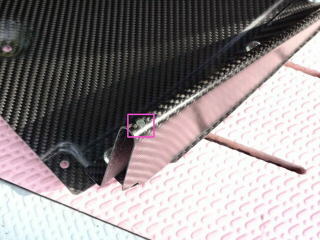
センタグリルとディフューザの取り付けが完了しました。結構、時間が掛かりました。
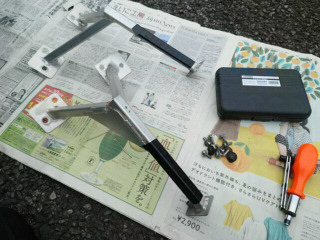
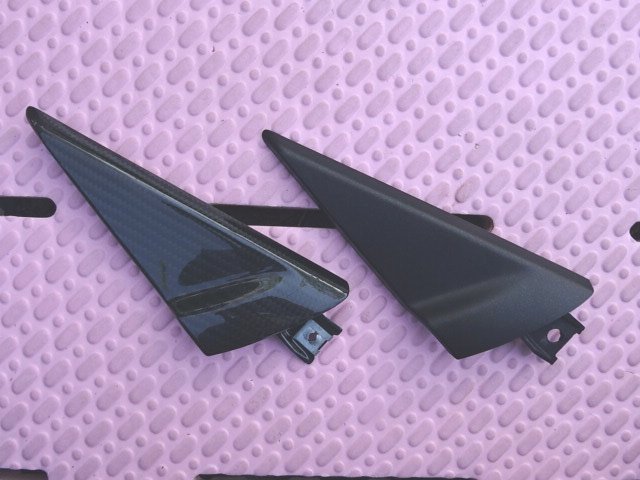
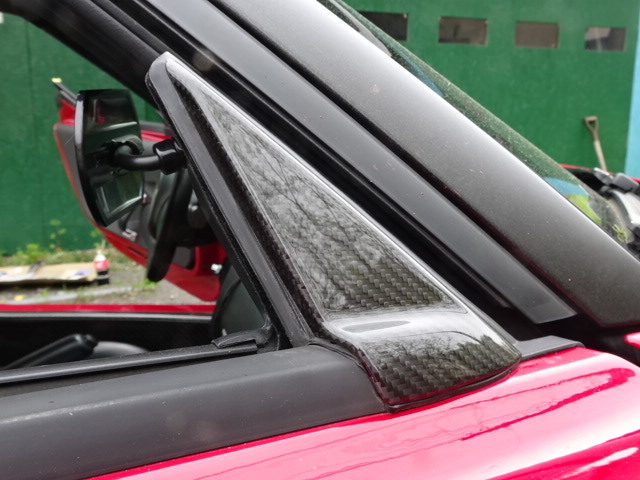
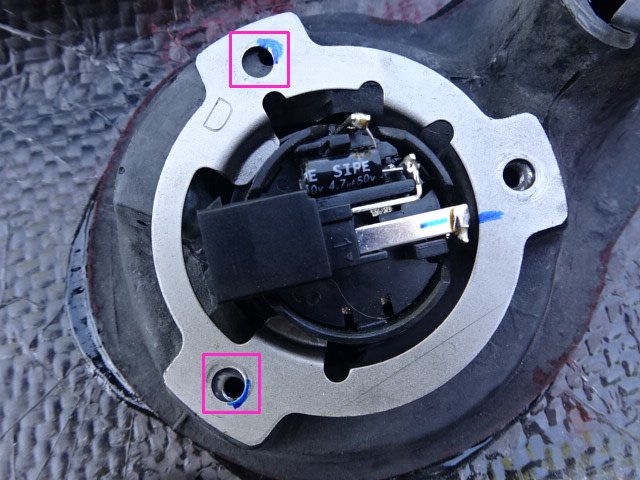
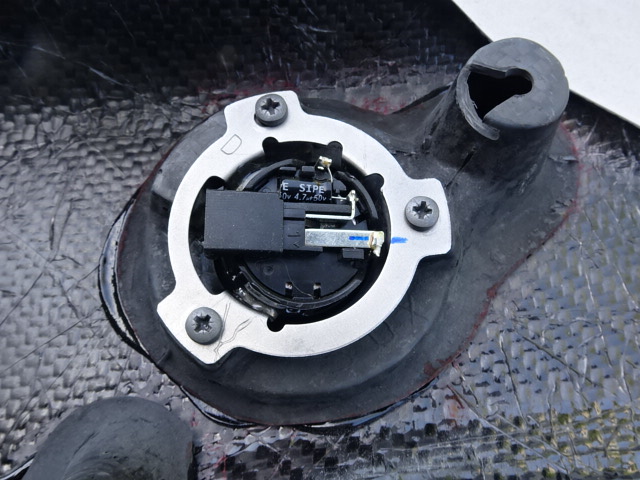
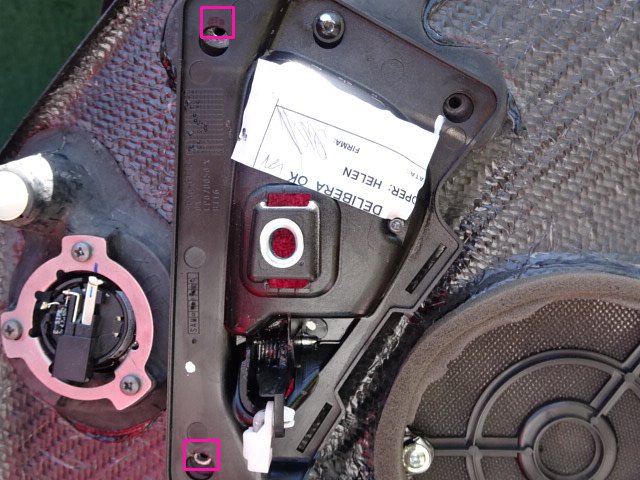
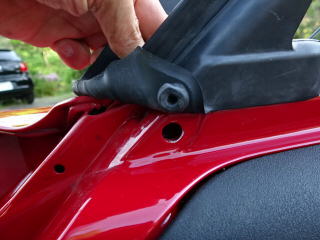
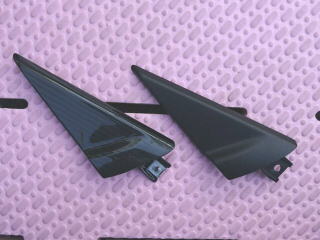
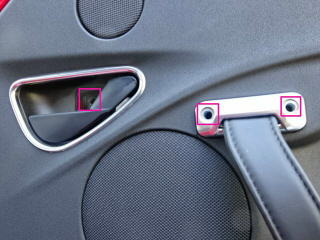
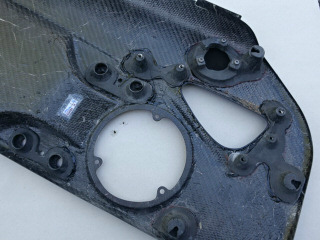
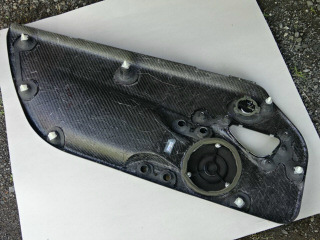
Koshiから購入した部品の3つ目はドアの三角板です。取り外しはゴムのカバーを外して、ネジを外すと純正の三角板が取り外せます。
4月25日
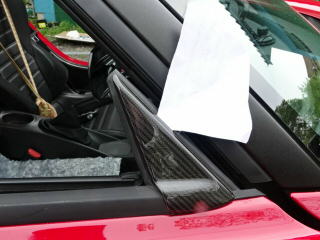
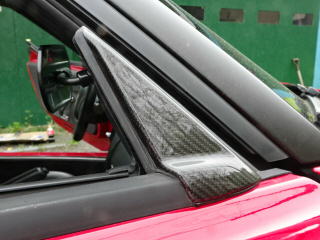
三角板はただ取り付けるだけかと思っていたのですが、そのままでは、フックに引かれて凹んでしまい、クリア塗装とカーボン目で凄く、目立ちます。原因は三角板が薄いためです。
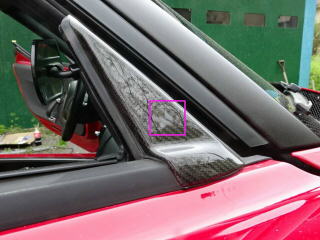
対策は引っ張られない程度まで、フックや外側を削ります。紙を挟んで、ゴムと接触している所を削ります。凹みが無くなりました。
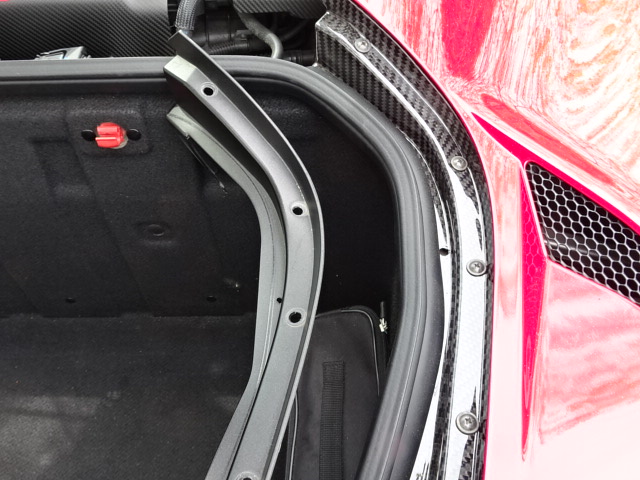
4つ目はトランクサイドトリムです。これは、ウエザストリップを外して、純正と交換するだけでなので簡単です。ただ、下側の奥にある取り付けネジは元々、固定されていませんでした。
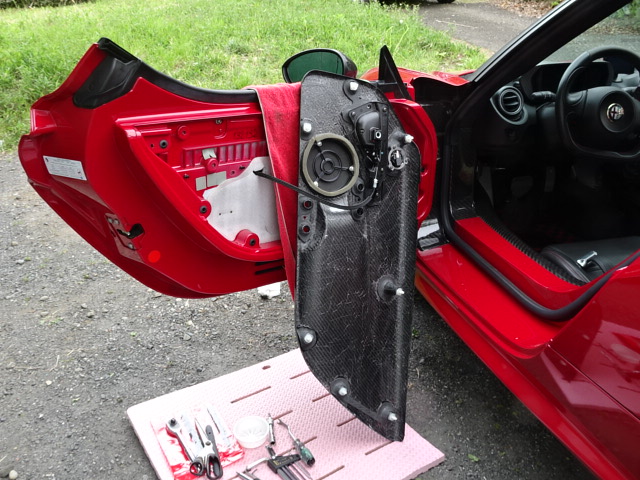
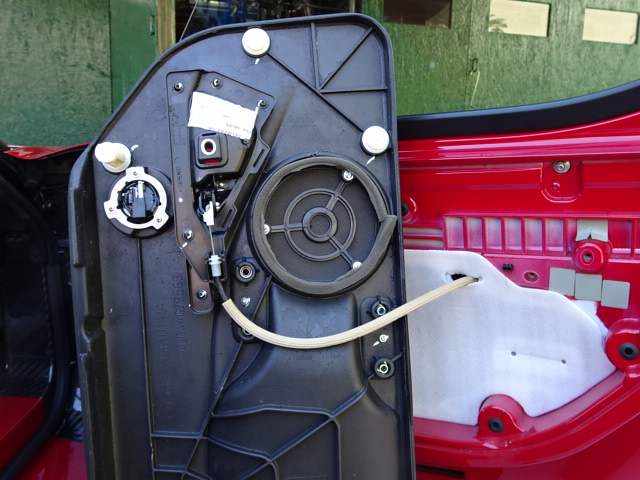
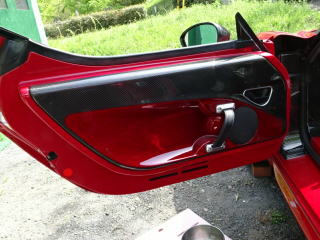
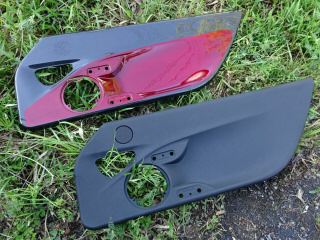
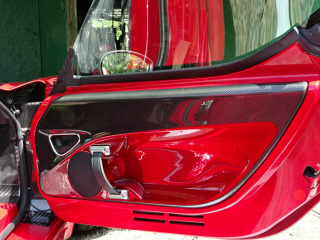
Koshiで購入した最後の部品はドアの内側パネルです。赤のコンボタイプを選びました。とりあえず、運転席側を交換してみました。これがまた結構、大変でした。次回の助手席側で手順を説明します。

4月30日
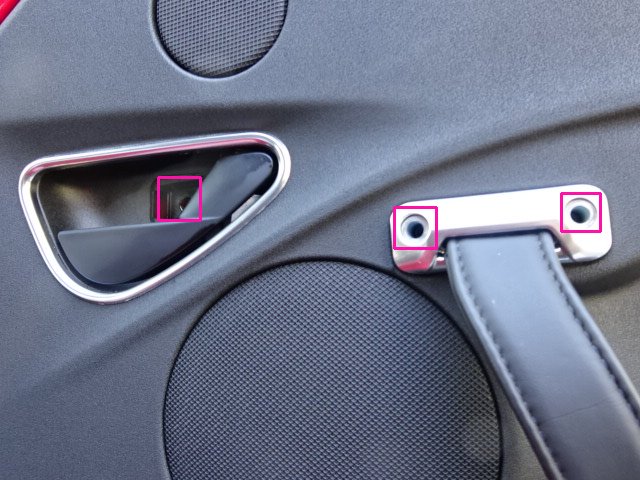
助手席側の内側ドアパネルを交換します。ドアのリリースレバーの中と持ち手のネジ合計で5本を取り外します。
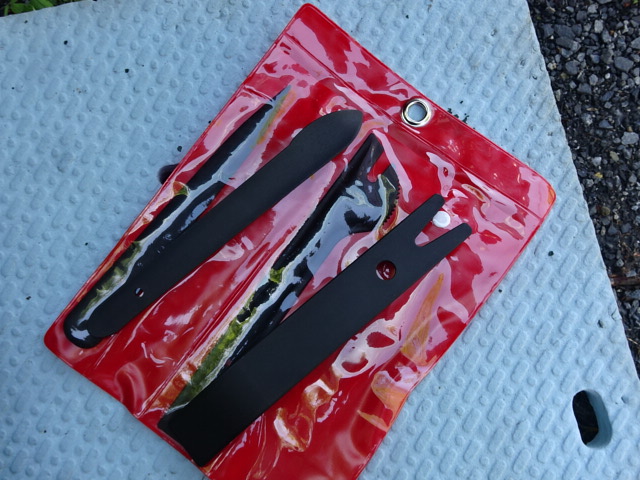
アストロで購入しておいたプラスチックレバーをドアパネルに差し込みます。

レバーを使って隙間を作ったら、そのまま引き剥がして内側ドアパネルを外します。ツイータのケーブルとリリースレバーのワイヤが繋がっているので注意します。
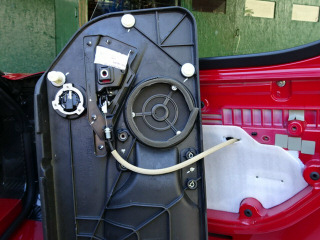
リリースレバーを取り外します。金属のスペーサが入っているので紛失しないように注意します。

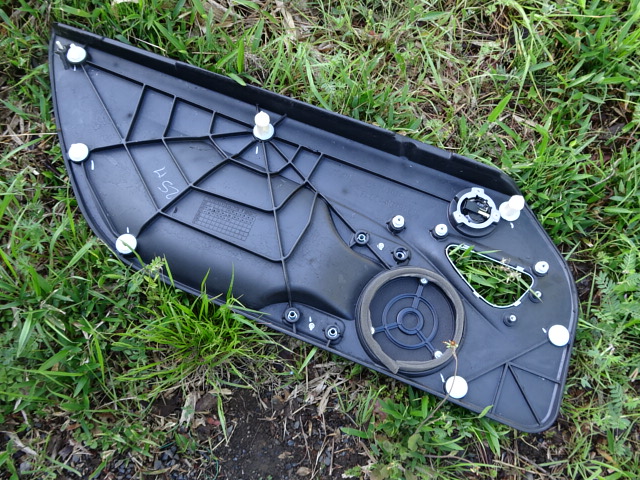
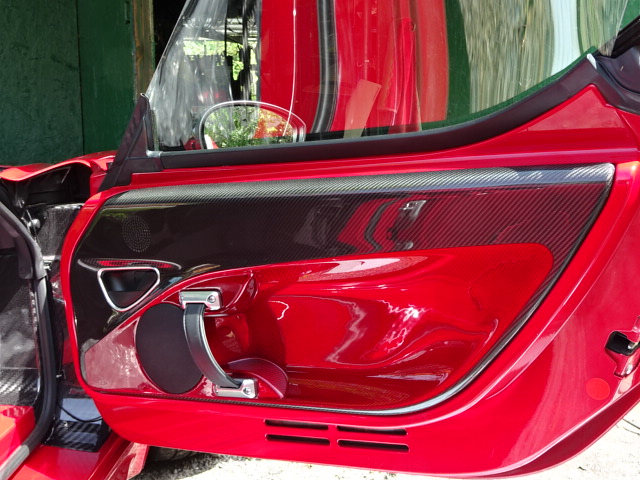
内側ドアパネル単体になりました。
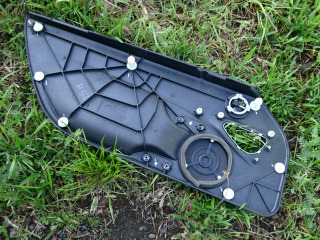
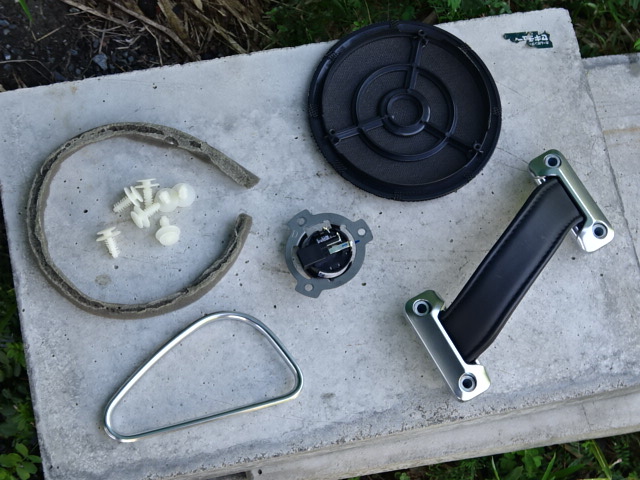
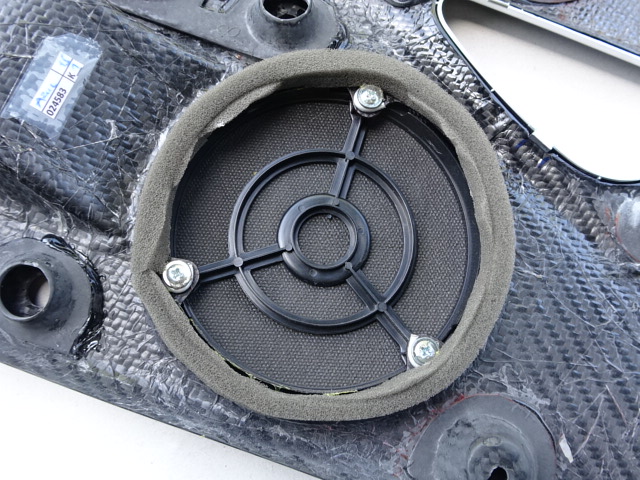
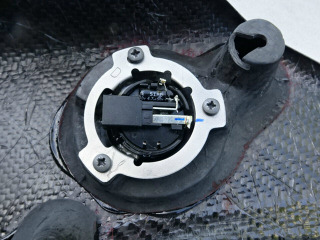
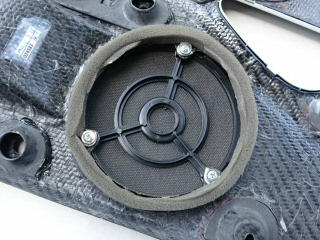
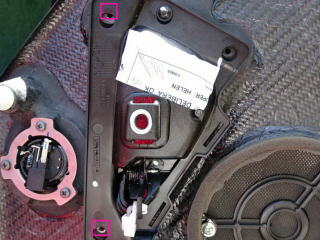
ウーハのグリルとスポンジ、ボス、ツイータ、リリースハンドルのメッキトリムを外します。これらを新しいパネルに取り付けます。
購入したパネルを並べてみます。
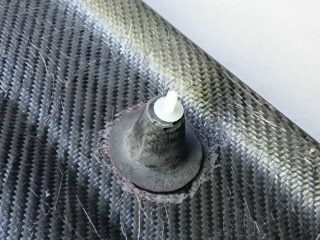
裏側はこんな感じになっています。ステーもカーボンで出来ていて、エポキシ接着剤?で接着されています。
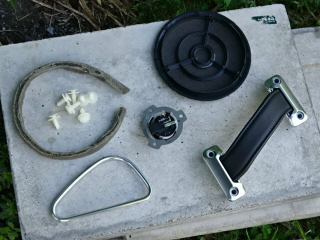
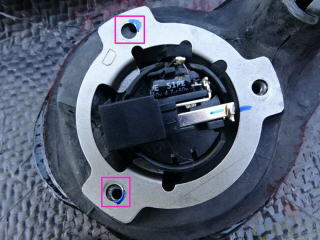
ツイータの止め金を合わせると、少し穴位置がズレています。電動リュータで青色の部分を削って付属のネジで固定します。
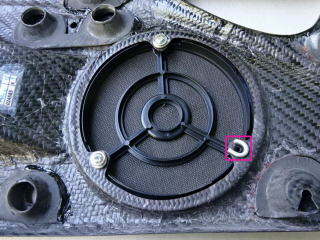
次にウーハのグリルです。パネル側が薄いので、そのままでは固定できません。アルミの針金をスペーサの代わりにして固定します。
続いて、リリースレバーのメッキトリムです。フックが当たるパネル側を電動リュータで削り、嵌め込みます。
ウーハのスポンジは、そのまま再利用します。
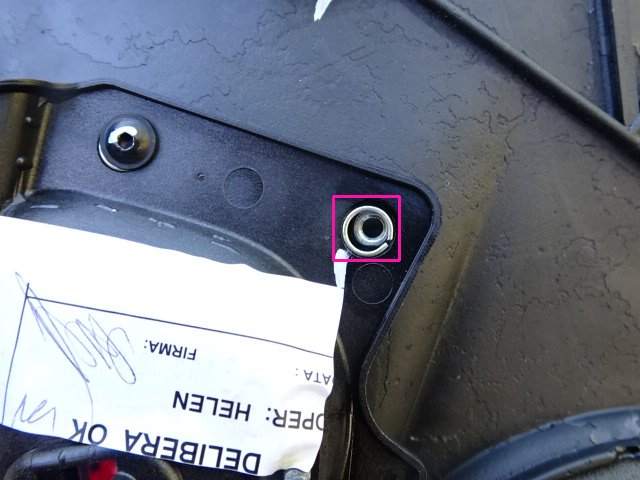
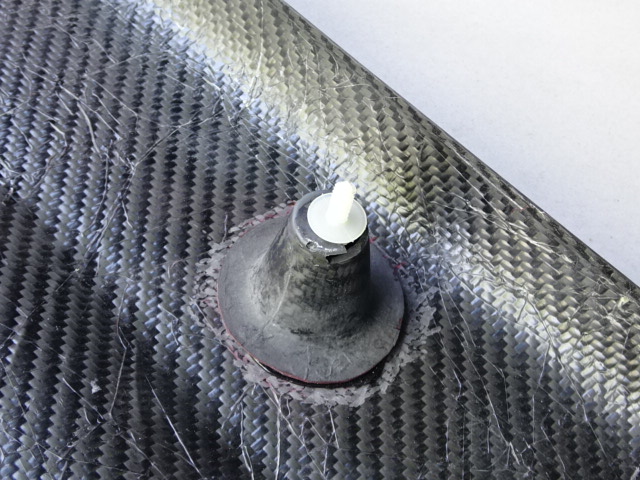
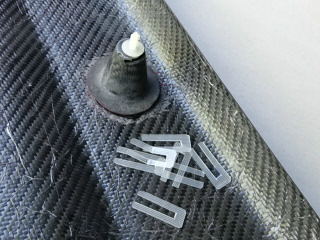
パネルを固定しているボスは、そのままではグラグラです。
プラスチックシートでスペーサを作製して、ボスに挟みます。7個あるボスが固定できました。
リリースレバーを取り付けます。穴が少しズレているので、電動リュータで穴位置を調整して取り付けます。スペーサは使いませんでした。
ドアとパネルのボスの位置を調整して、パネルを押し込みます。
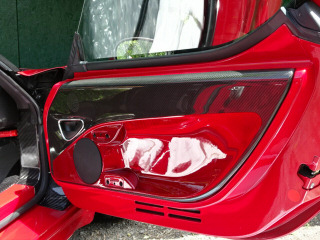
その後、リリースレバーの中と持ち手のネジ合計5本を戻して固定します。助手席側も取付完了です。運転席側もほぼ同様の修正が必要で、ポン付けとは行かず、結構大変でした。
5月2日
ガレージの右側と扉を開けました。何年ぶりでしょうか?
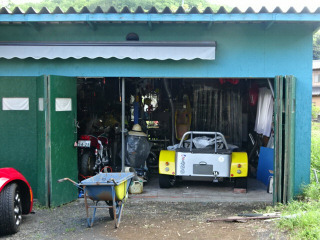
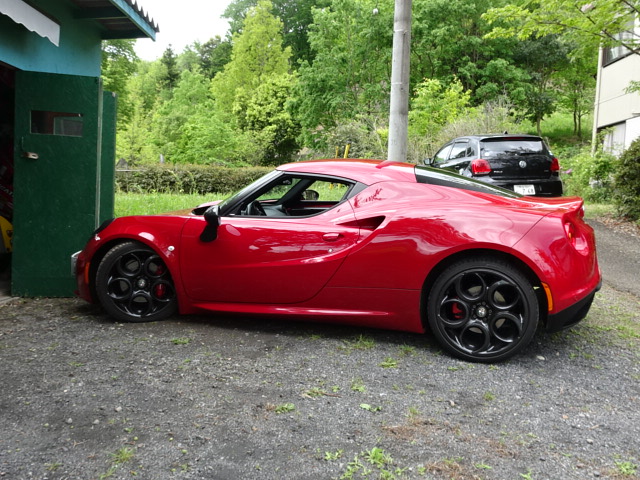
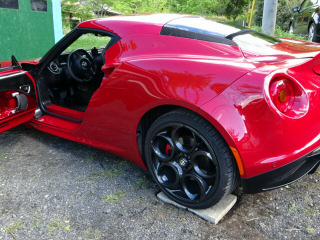
ガレージの右側のアコーディオンガレージを設置する場所に4Cを置きます。

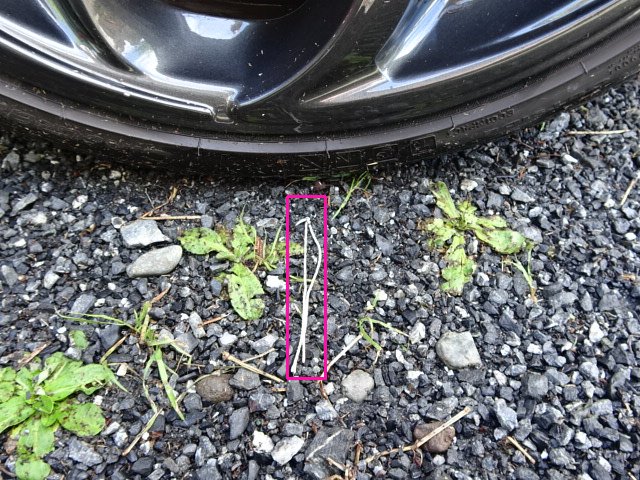
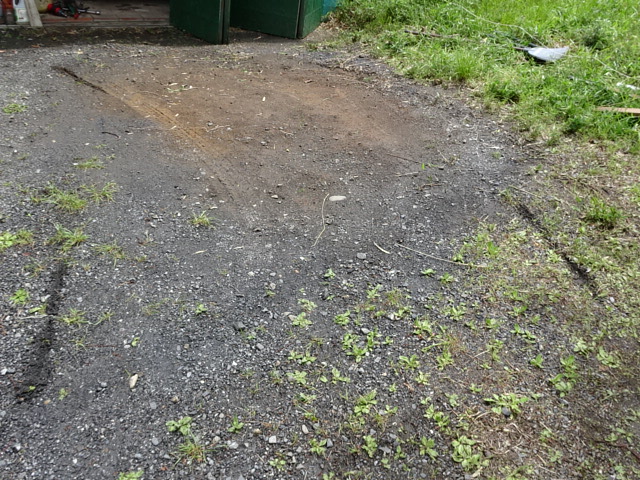
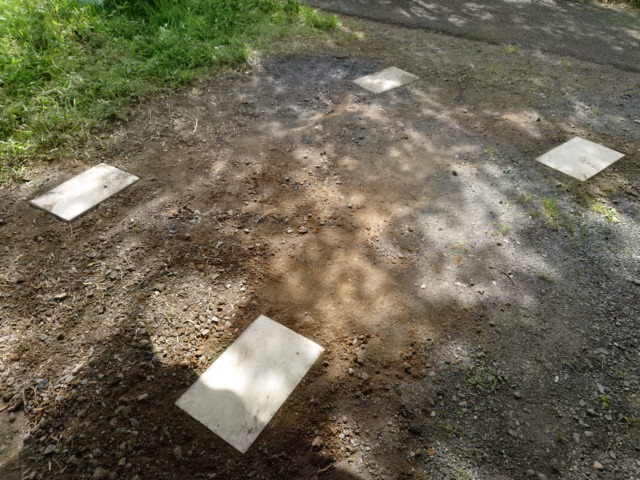
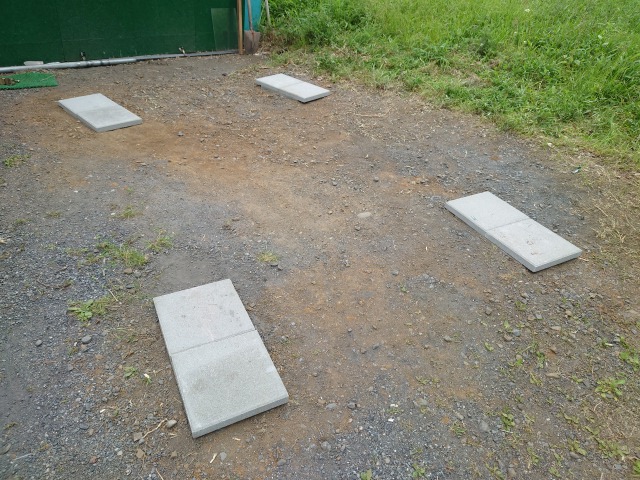
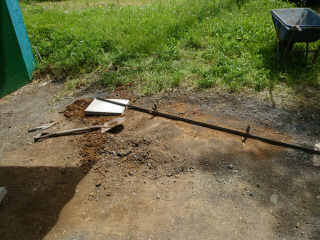
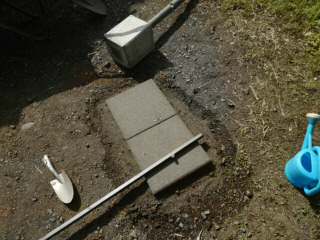
タイヤ中央にマーカを付けてコンクリ平板を置く所をマークします。


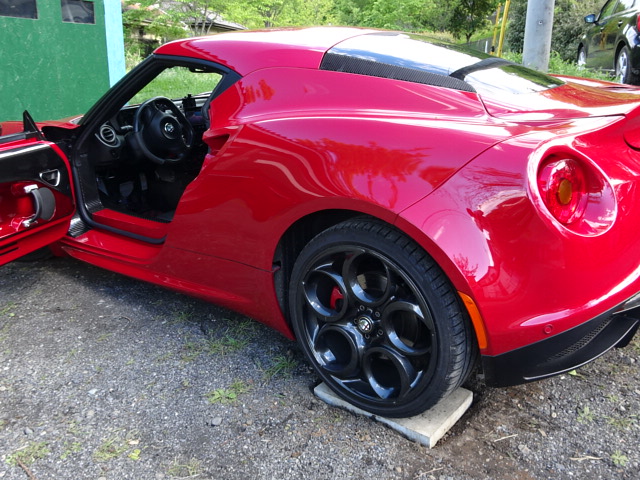
鉄のL字チャンネルでコンクリ平板が平面になるようにリアのコンクリ平板を埋め込みます。
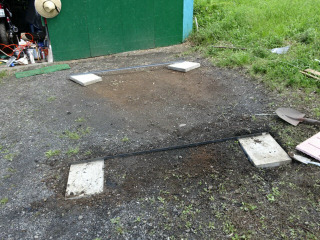
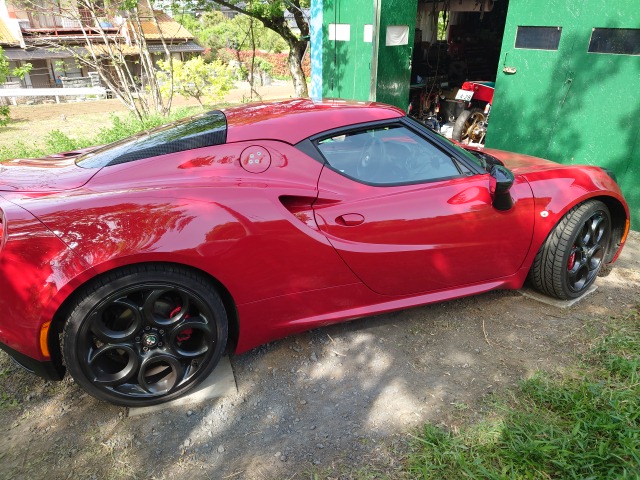
リアタイヤがコンクリ平板の上にタイヤが乗ることを確認しておきます。

この日は大気が不安定で雹が降って来ました。小粒なので被害は無いです。
5月4日
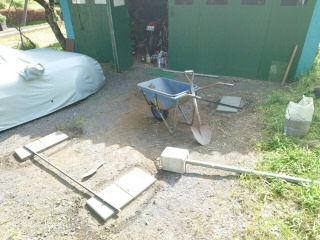
フロント側のコンクリ平板も埋め込みます。前後もなるべく平面になるように調整しました。
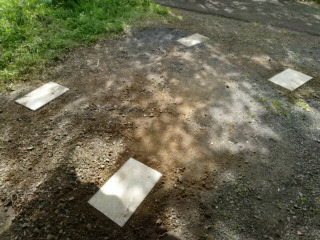
フロント、リアともコンクリ平板の上に4Cが乗ることを確認しました。
5月5日
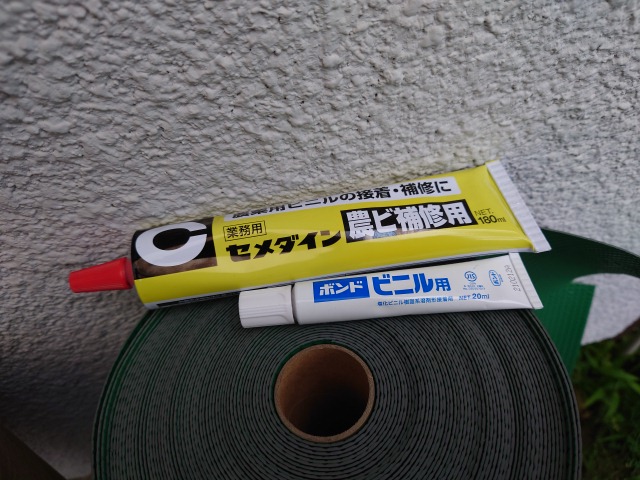
防水の塩ビシートを接着する接着剤の性能を調べます。ホームセンタで購入した接着剤の2種です。
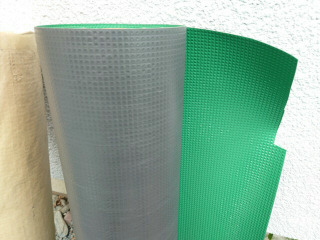
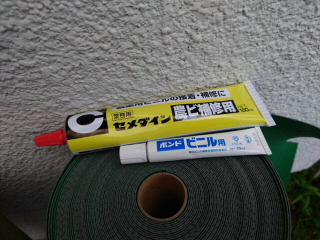
双方とも接着力に問題無く、水に浸けても大丈夫です。
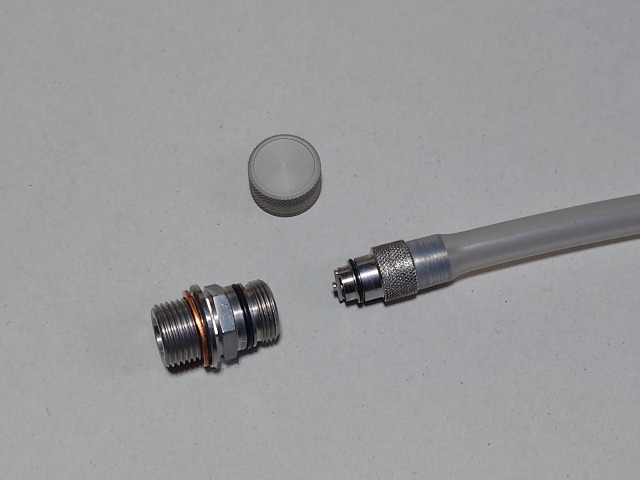
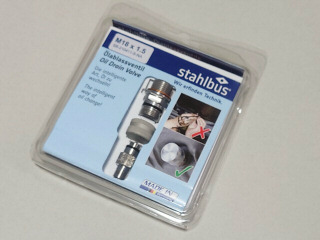
Ebayで購入したエンジンオイル用のワンタッチドレンが届きました。これで段ボールでトヨを作らなくて良くなります。交換は次回のオイル交換の時に行います。
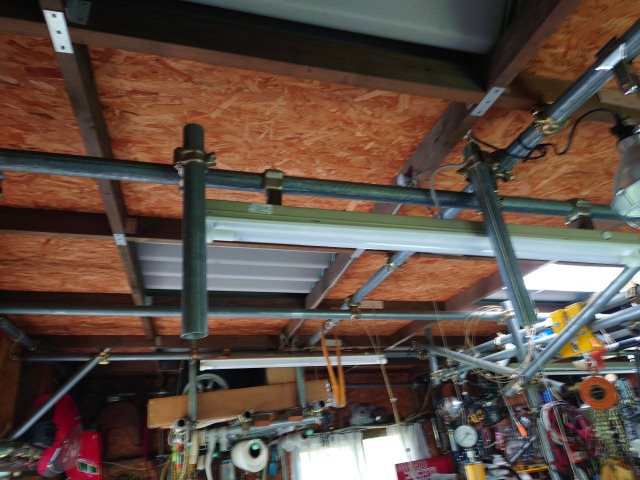
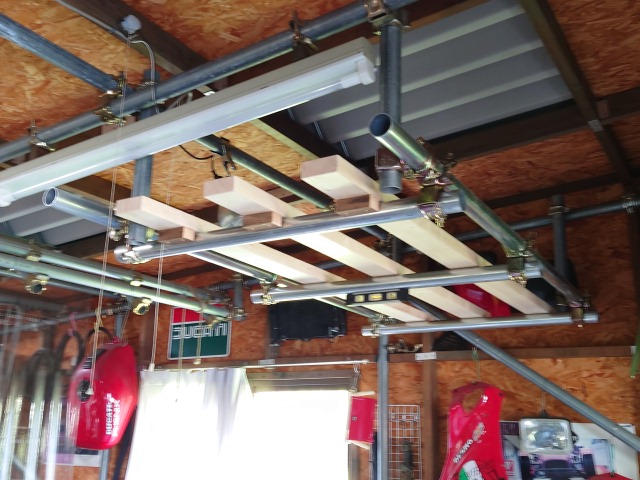
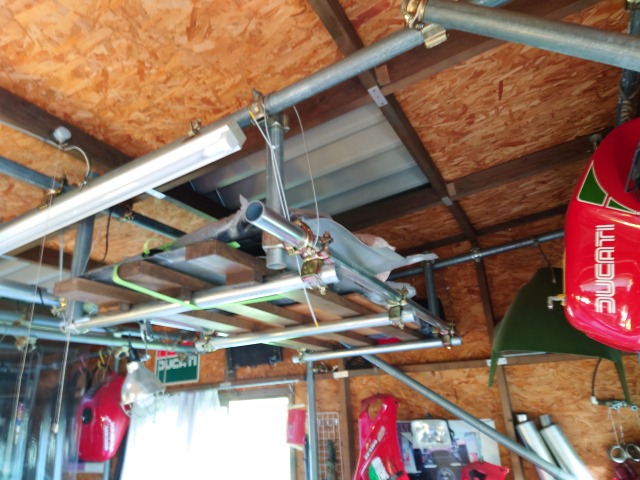
ガレージの向かって右側の天井に4Cのノーマルパーツ置き場を作ります。初めに2mの単管から柱を4本切り出します。天井の梁に接続しました。
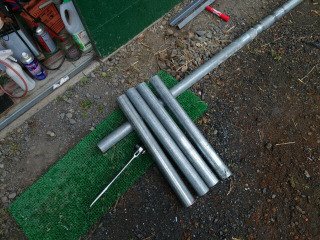

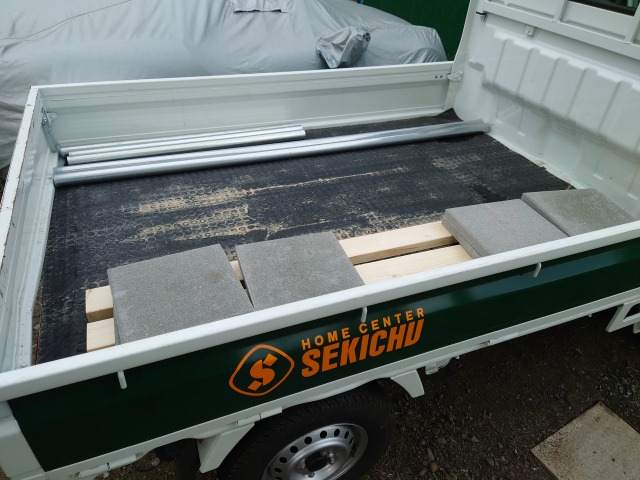
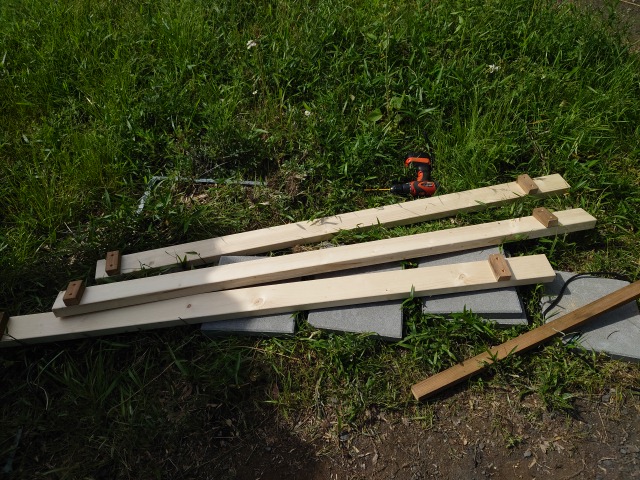
ホームセンタで1mと2mの単管と2X4材、30x30cmの軽量コンクリ平板を8枚購入して来ました。

柱に梁を接続してパーツ置き場を拡張します。
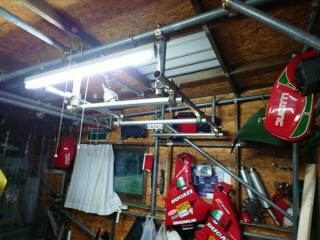
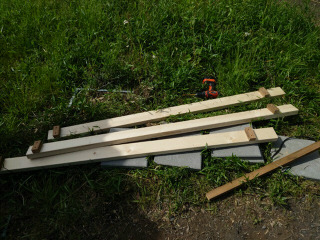
2X4材は両端にストッパを付けて、仮り組みしてみます。

5月6日
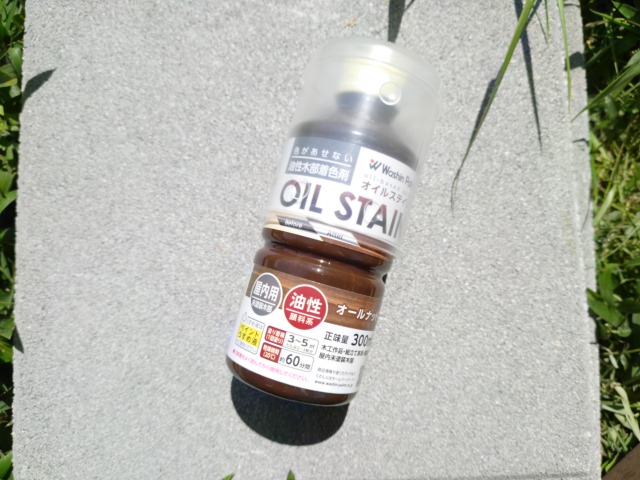
ホームセンタで落下防止のワイヤとオイルステインを購入しました。

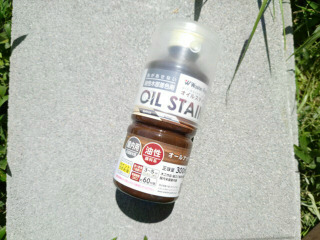
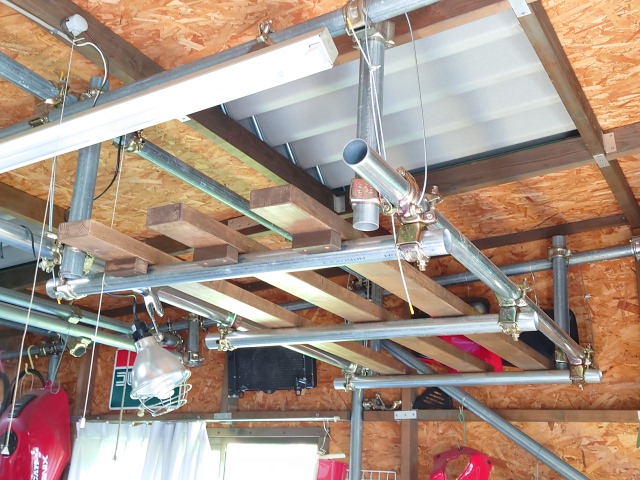
2X4材にオイルステンを染み込ませて設置し、落下防止のワイヤも取り付けました。


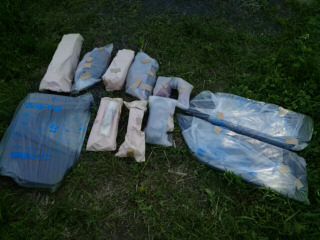
ノーマルパーツを簡易包装して、新しいパーツ置き場に収納しました。

5月7日
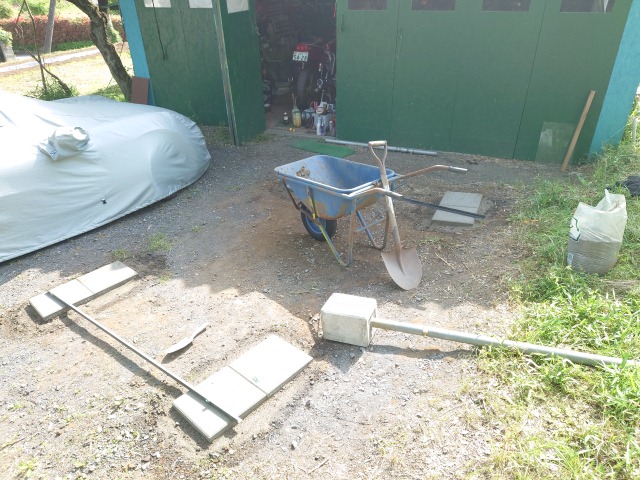
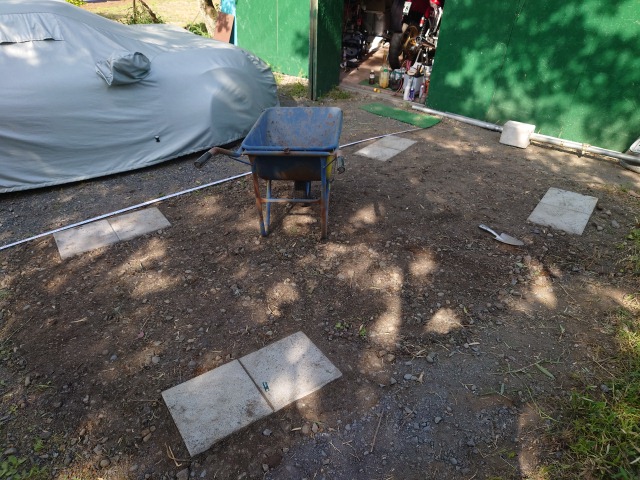
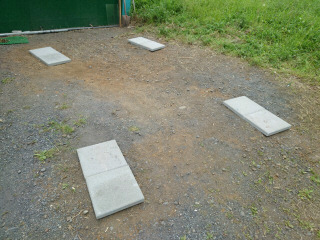
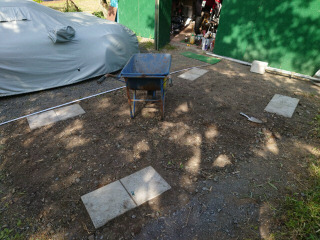
30x30cmの軽量コンクリ平板を2つ繋げて、コンクリ平板の上に置いてみます。
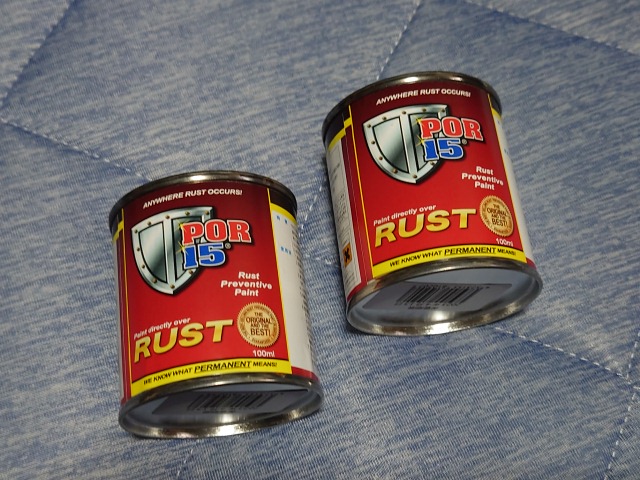
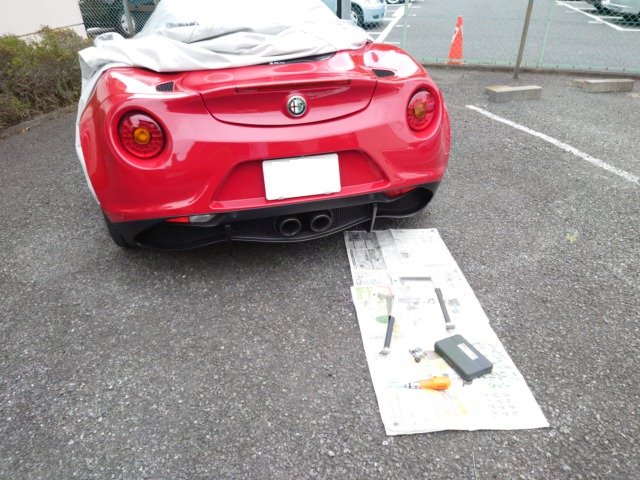
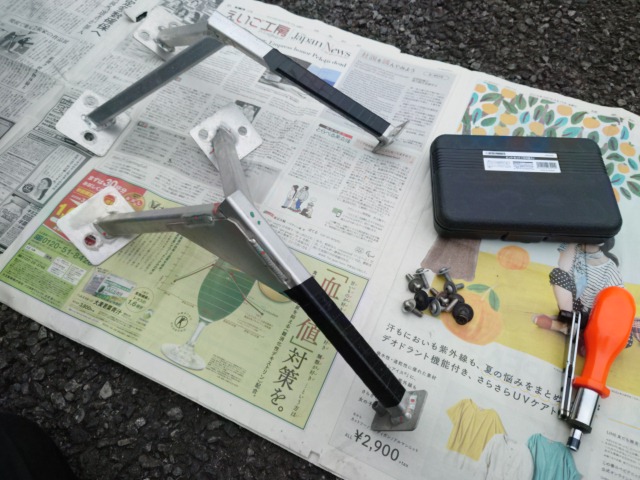
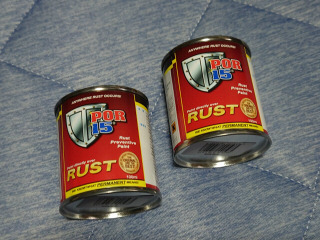
アマゾンで黒とシルバーのPOR15を購入しました。リアバンパを吊り下げているアルミステーをペイントする予定です。リアのメッシュの間からアルミステーが見えるので、黒のビニールテープを巻いています。
5月9日
軽量コンクリ平板の周囲に砂を撒いて安定させます。
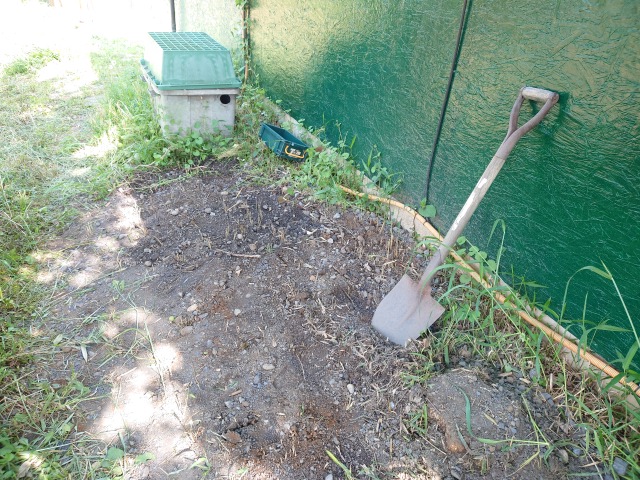
ガレージの左側に退避していた、砂利/土を戻しました。タコを使って少し突き固めるました。タコは少し重すぎで疲れます。

5月11日
在宅勤務のお昼休み作業です。今週末はスクータでガレージへ行く予定なので、リアバンパを吊っているステーを外しました。現在は目立たないようにビニールテープを巻いていますが、今週末にガレージに持って行ってブラストしてからPOR15の黒で塗装する予定です。