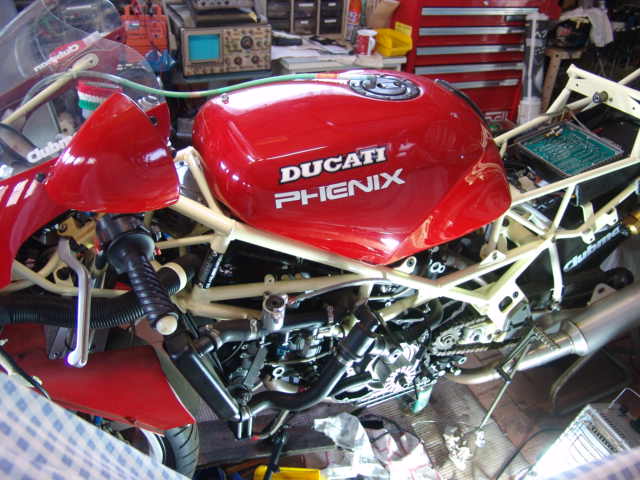
組み立て、その4〜
2007年
5月14日
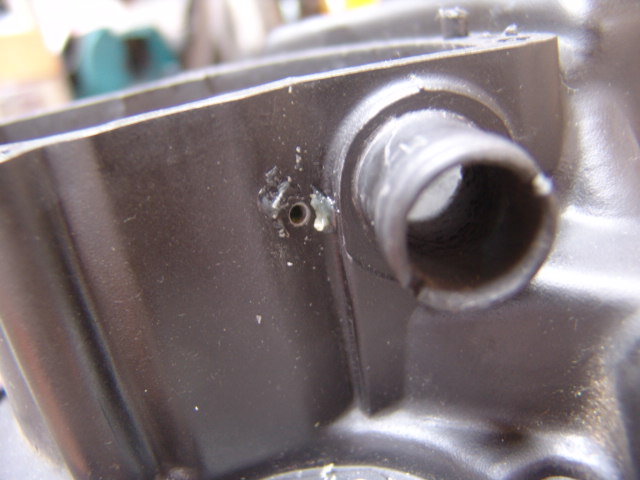
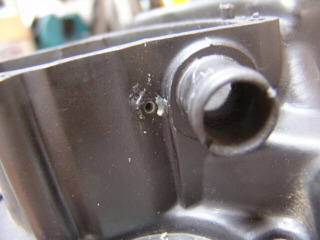
以前にウォータポンプの付近からクーラントが漏れた件で、行き付けのバイク屋さんから連絡をもらいました。これはシールの劣化を知らせるインジケー
タ穴でシールが弱くなるとこの穴からクーラントが漏れて判る仕組みになってるとのことです。この場合にはシールを交換する必要があります。ワークショップマニュアルにも書いてありました。交換する必要のある部品は937831625
(Seal ring)です。部品を交換して穴を再度開けて、オイルにクーラントが混ざっていないか確認する必要があります。
6月10日
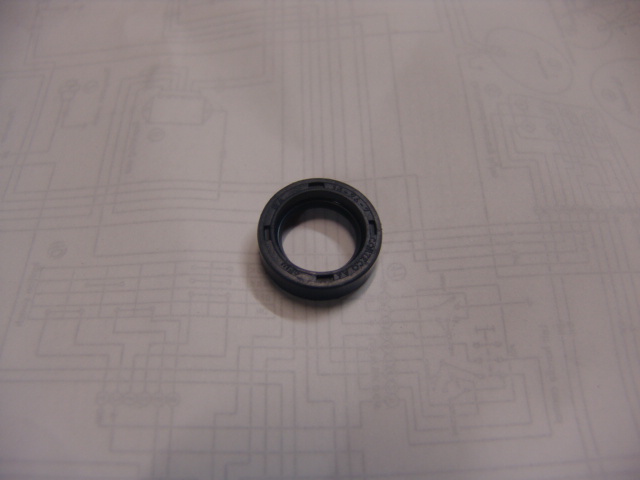
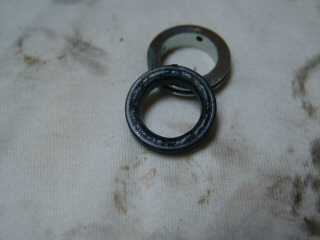
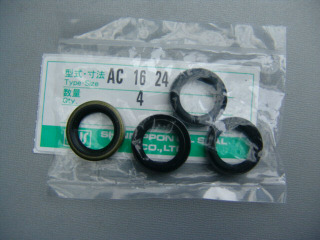
上記の続きです。購入したシールです。16−24−7と
書いてあります。普通のオイルシールと見分けがつきませんが、水用なのでスプリングはステンレ
スなのかもしれません。

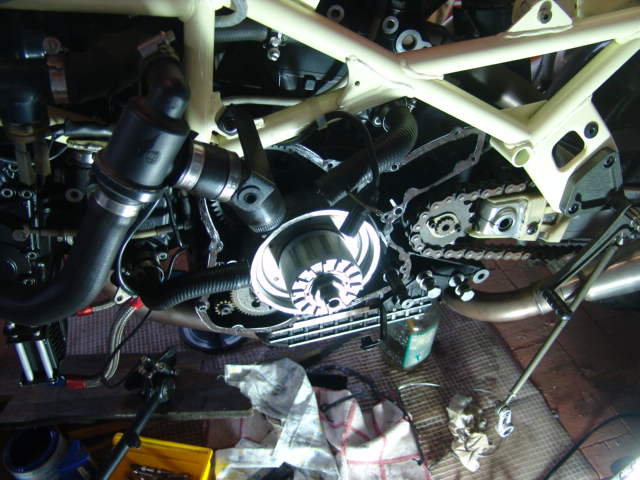
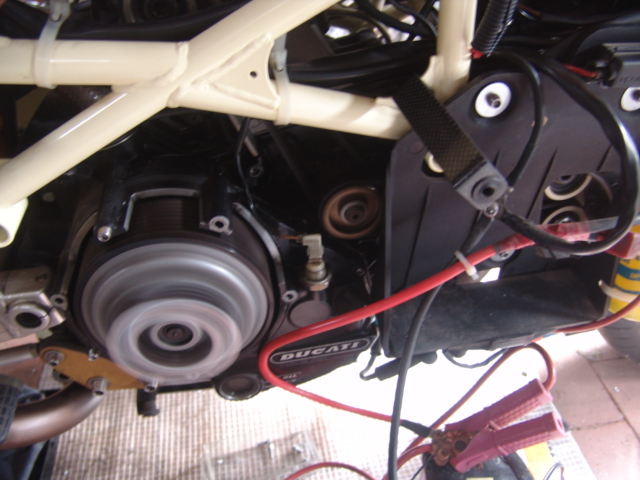
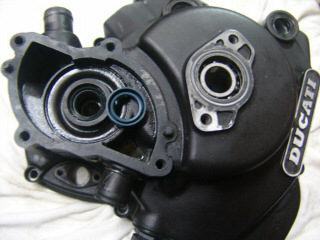
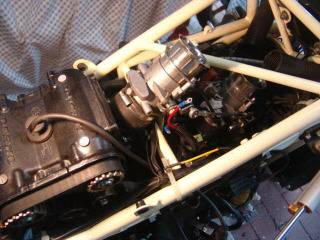
早速分解します。オイルとLLCを抜いて、ウォータポンプのあるサイドカバーを
外します。自作ガスケットで寸法が足らず、途中で継ぎ足しているため、液体ガスケットを多めに使ったため、なかなかサイドカバーが外れません。センタのカ
バーを取ると8mmのボルトが入るようになっています。ここに6角ボルトを入れてカバーを押すようすると、サイドカバーが外れてきます。次回、ガスケット
を再作して、シー
ルの交換と埋めてしまった穴の開け直しをします。

6月16日
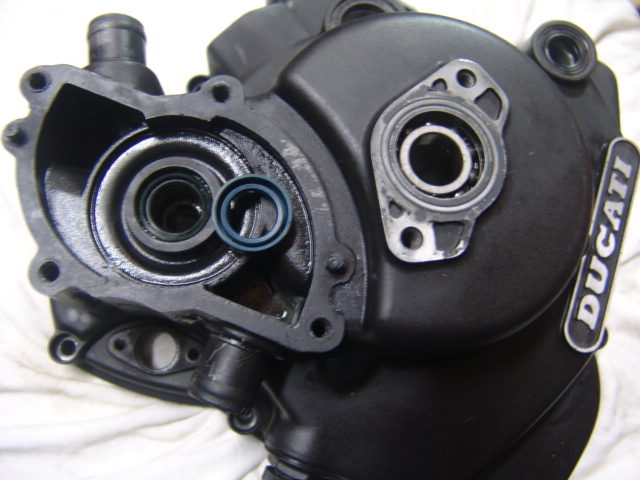
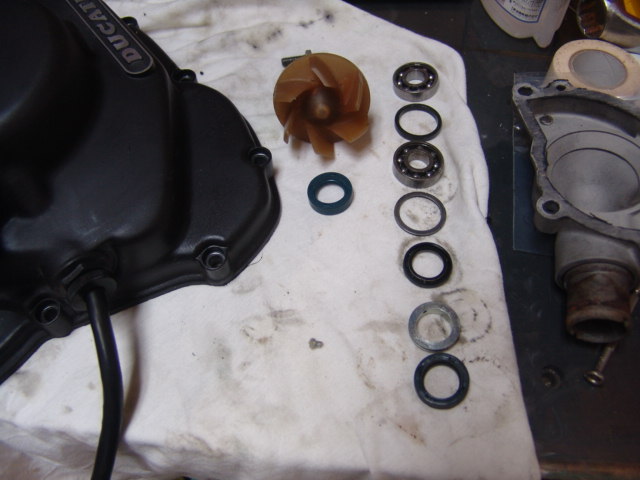
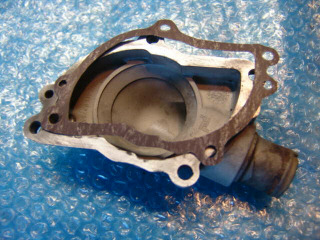
ウォータポンプ部を分解しました。ウォータ用のシールは特殊な形でした。2番目のスペーサの凸部がウォータ用のシールの凹に嵌っています。
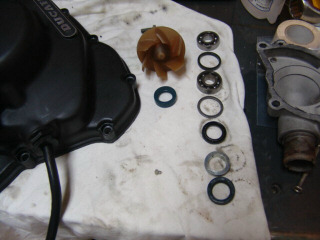
インジケータ穴に詰めたアルミ棒も抜きます(笑)。
下はウォータシールの1つ奥にあるオイルシールですが、内部の鉄部が錆ているみたいで、表面が膨れています。交換するか悩むところです。
10月27日
上記のオイルシールですが、純正が無いようです。少し仕
様が違いますが、工業用の物から選んで購入しました。軸径16、外形24、厚み4です。ただし購入できたのは外形嵌め合い部が鉄のもので、純正はゴムでコーテング
されています。シリコンシーリング剤でシーリングして使用してみます。いつもお世話になっているニ光精機で取り寄せてもらいました。
2008年
1月4日
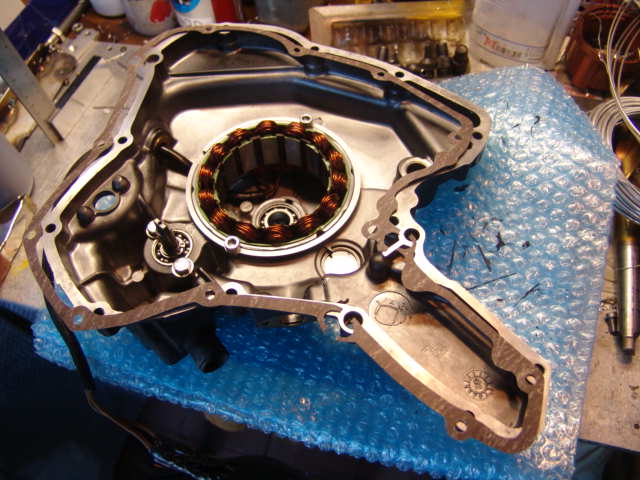
上記で購入したオイルシールをジェネレータカバーに圧入して、インペラを組み付けました。その後、ジェネレータ、ウォータポンプのガスケットを
汎用ガスケットシートから切り出しました。ジェネレータカバーの方は大きくて1枚のシートから作れないので、2分割しています。

2月3日
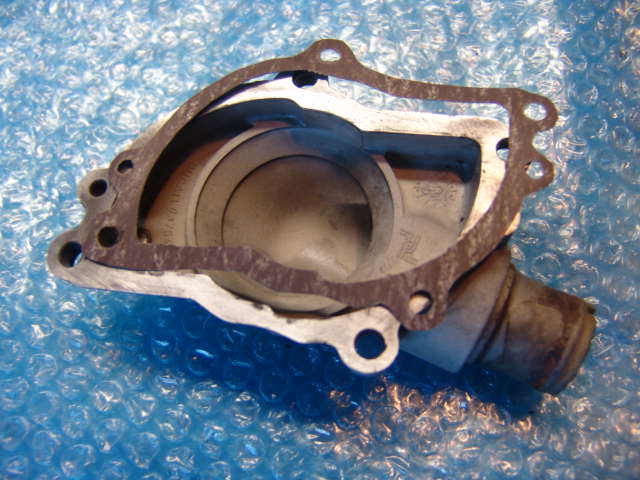
ジェネレータカバーを取り付けます。自作のガスケットに
シリコンシーリングを塗ります。


ジェネレータカバーとウォータポンプカバーを元に戻し、取り付けました。次回オイルとクーラントを戻す予定です。
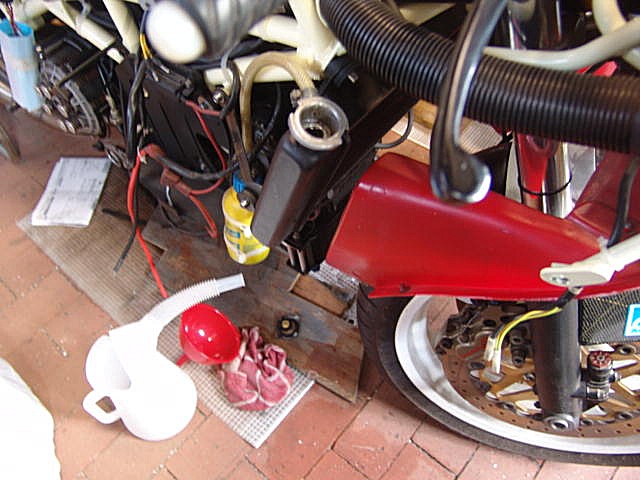
2月11日
オイルとクーラントを戻しました。クーラントがなかなか入っていきません。
次回エンジンを掛けてみます。
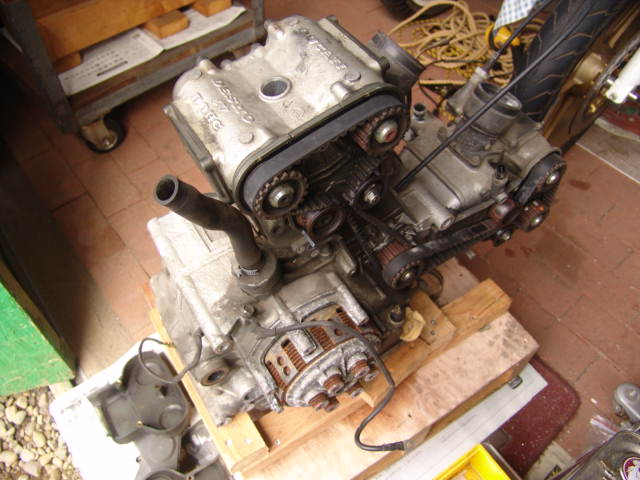
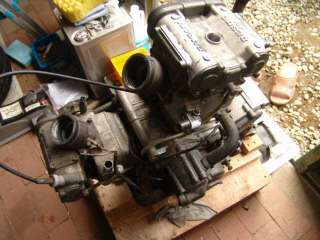
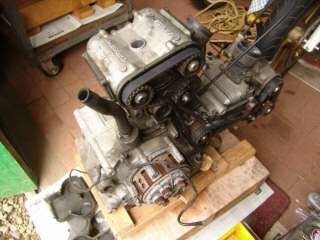
10月11日
オークションで購入した888のエンジンです。1万5千円で安かったので買ってみました。外はサビサビです。中は綺麗そうです。851とは4年くらい開いているので微妙に部品が違います。
2009年
5月16日
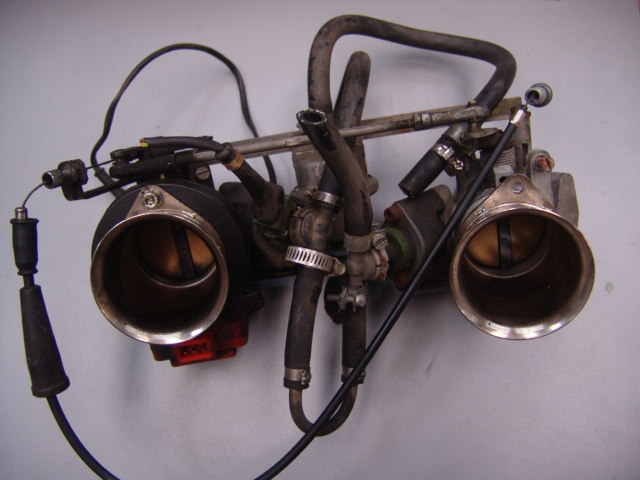
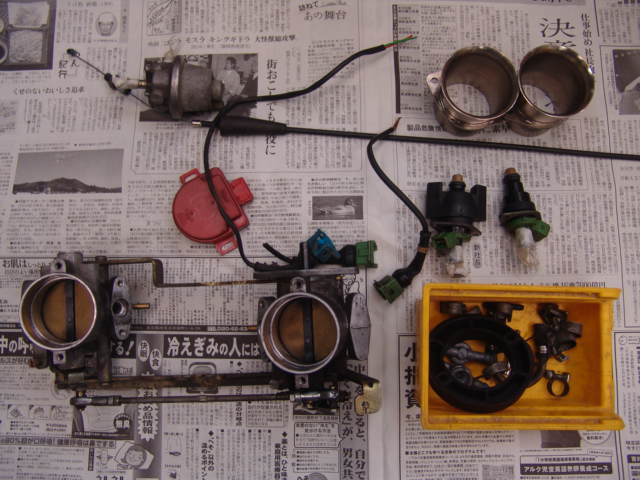
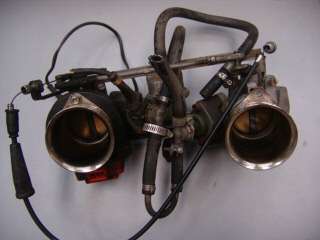
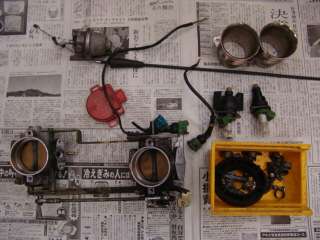
オークション
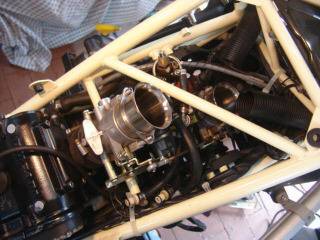
で購入した851のスロットルボディ/インジェクタで
す。部品をばらしました。消耗品の予備としてはインジェクタと燃圧レジュレータ、スロットルポジションセンサが使えそうです。後は851のスロットルボディは2インジェクタ用のものを1インジェクタとして使っているので余分なホルダ部分が残っていてこれを削るとスッキリすると思います。
2011年
4月17日
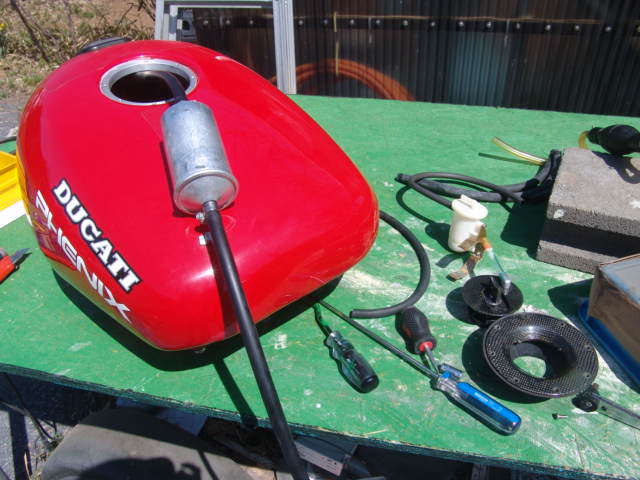
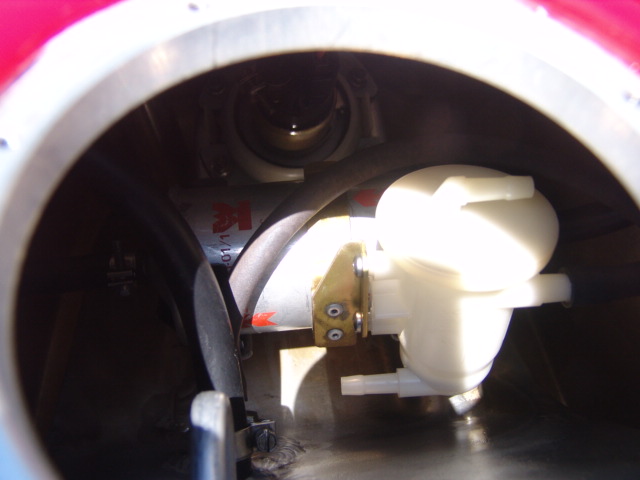
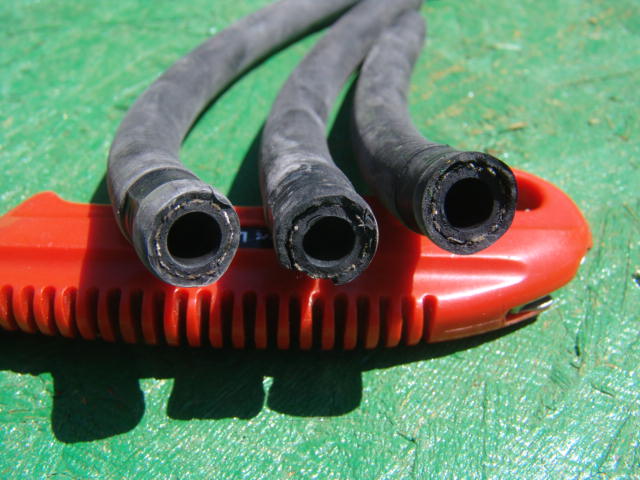
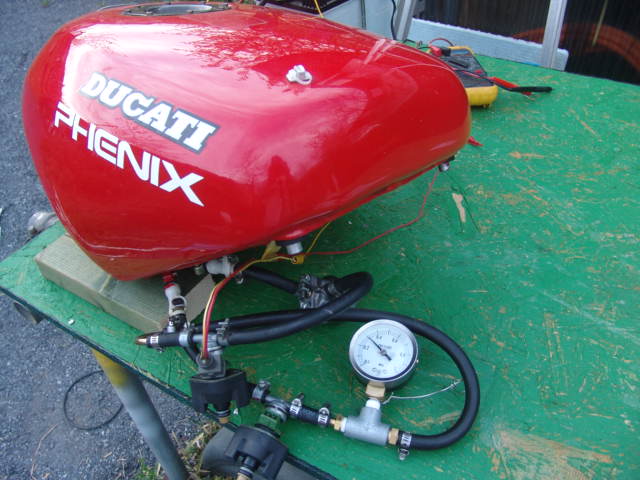
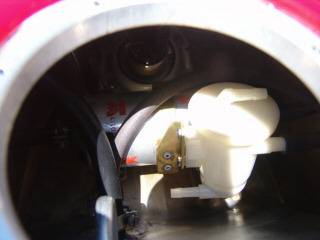
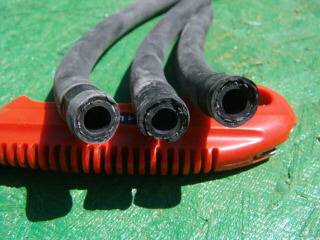
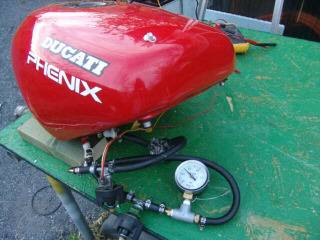
タンク内で使っている燃料ホースは耐圧はインジェクション用ですがガソリンに浸かって使用できるタイプではないので、ケントエンジンのECU化でコレクタタンク内で使ったガソリンに浸かっても使える燃料ホースと交換します。右は交換を終えた所です。奥がポンプで、手前のプラスチックの部品はパーコレーション対策のエア抜きです。
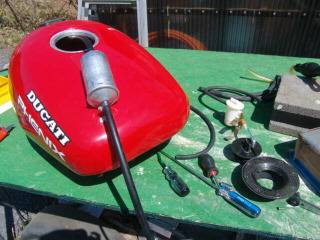
タンク内はガソリンがあまり入っていなかったのでホースはあまり膨張していませんが、やはり外側のゴムが柔らかくなっている所もあります。
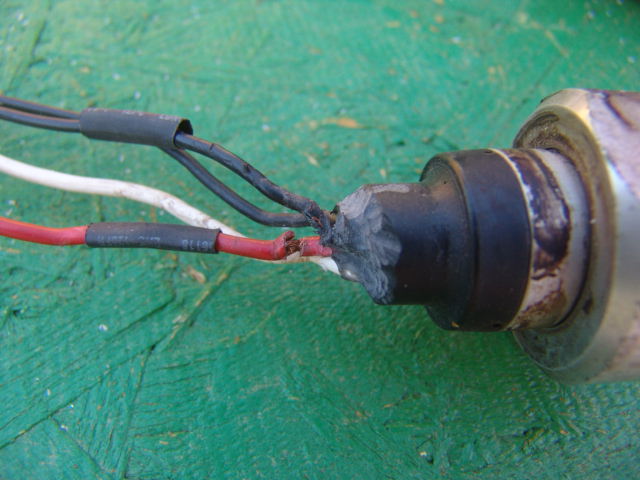
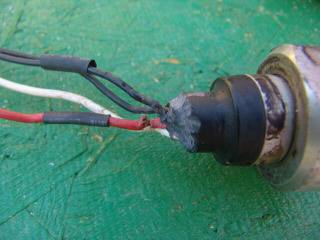
ついでに燃料ポンプと燃料警告灯の配線の被覆を補修しておきます。
4月17日
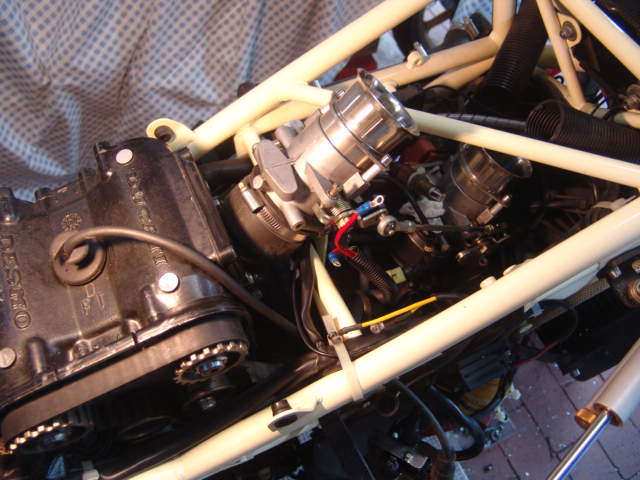
サービスバッテリでエンジンをかけてみましたが、一向にかかりません。ポンプは動いています。点火系もOKのようなので、一度インジェクションを外しました。次回噴射テストをしてみます。

5月1日
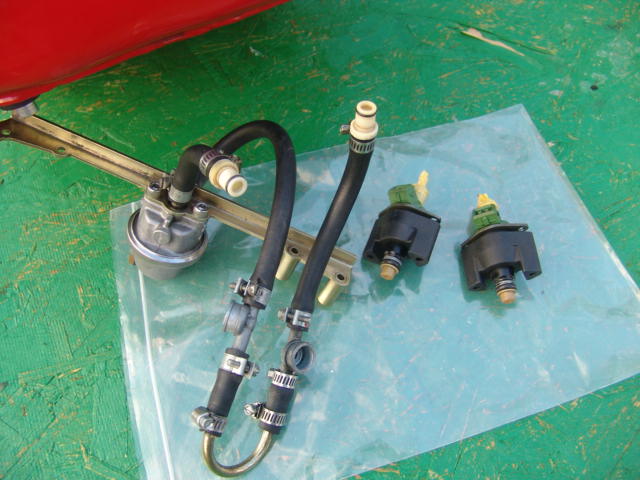
前回分解したインジェクション回りを確認します。燃圧計を割り込ませてポンプを駆動し、燃圧を調べました。3kg/cm2で正常です。燃圧をかけておいてインジェクタに通電して噴射テストも行いました。悪いところはなさそうです。

再度、組み立てます。
あっさり、かかりました。不思議です??

10月16日
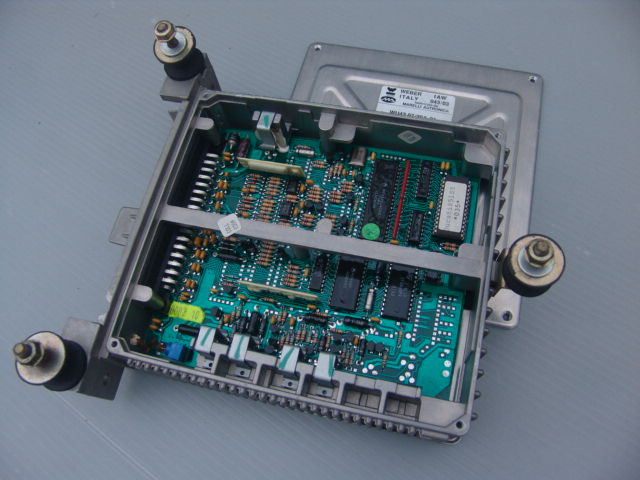
オークションでECUが売りに出ていたいので購入しました。動作未確認品で12000円でした。
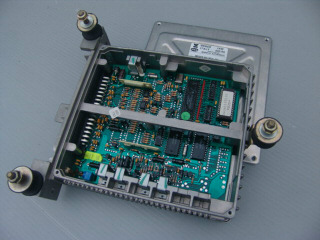
早速、ECUを交換してみます。ROMを入れ替えてエンジンをかけてみます。正常に動作しました。せっかくなのでCPUをソケットにしてICE(インサーキットエミュレータ)を接続してみたいです。
10月22日
オリジナルのECUの基板からハンダ吸い取り器でCPUを取り外します。ニス全面に塗ってあり、外しにくいです。取り外し後、代わりに丸ピンのICソケットをハンダ付けします。CPUの方にもICソケットを付けてCPUを基板に戻します。
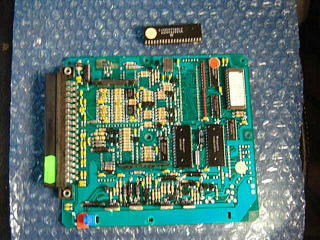

ICソケットに改造したオリジナルECUで動作確認します。良好です。ICEする準備が整いました。

2012年
3月24日
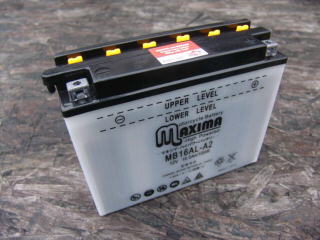
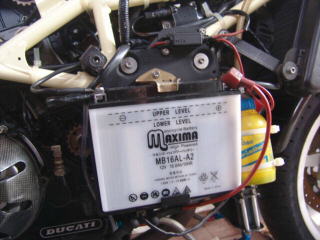
ツーリング用に車検を取る予定です。オークションで安売りバッテリを購入して取り付けました。
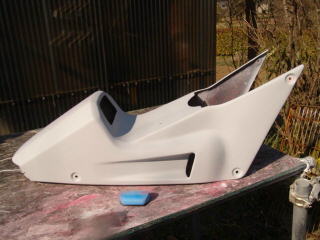
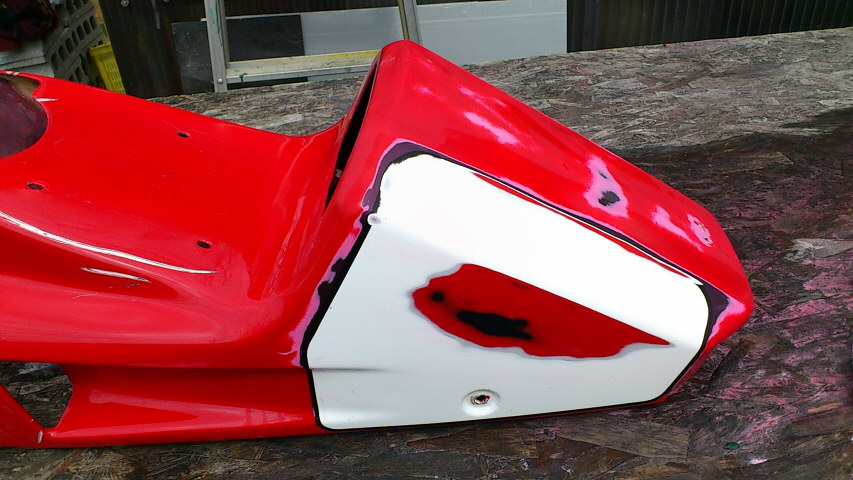
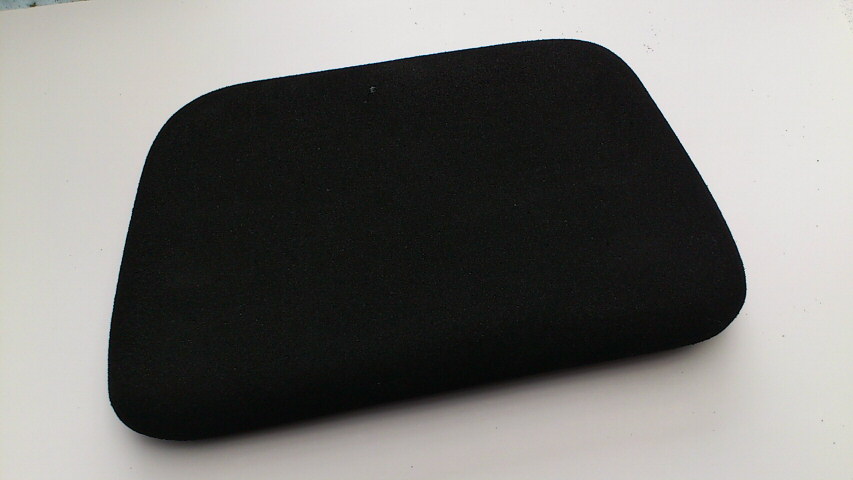
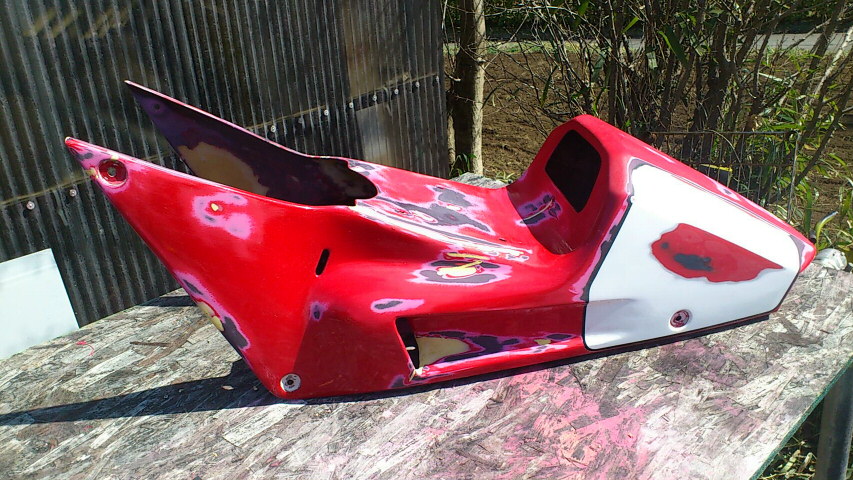
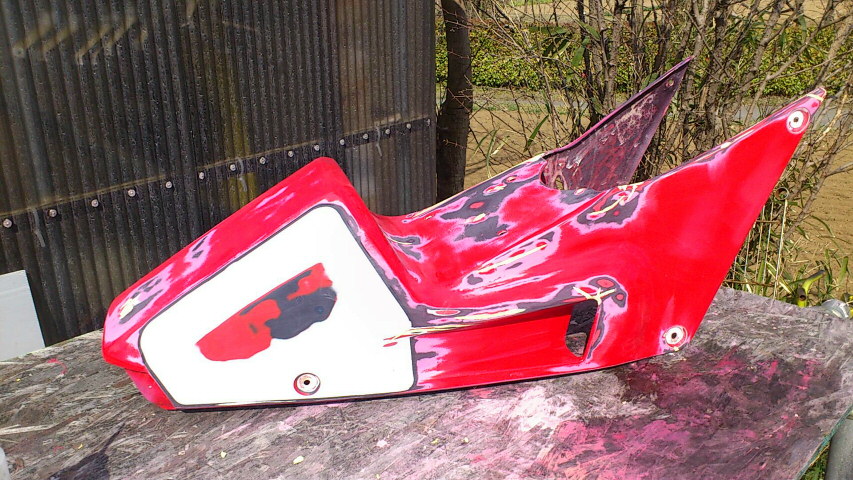
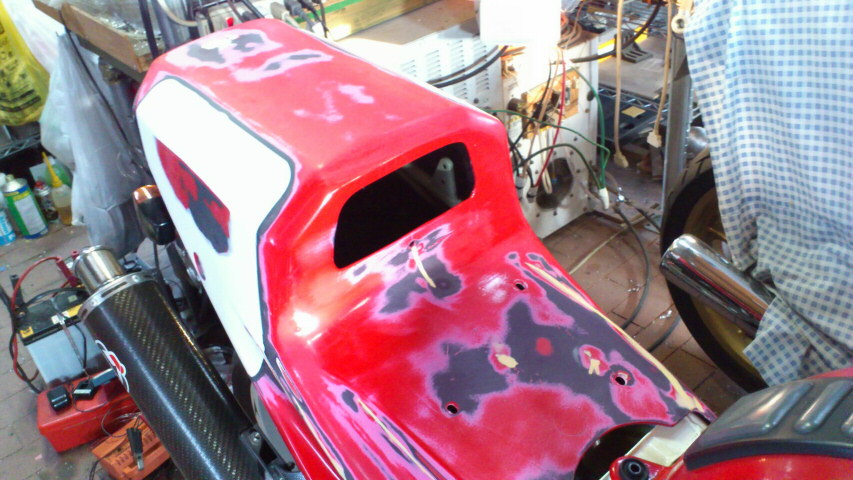
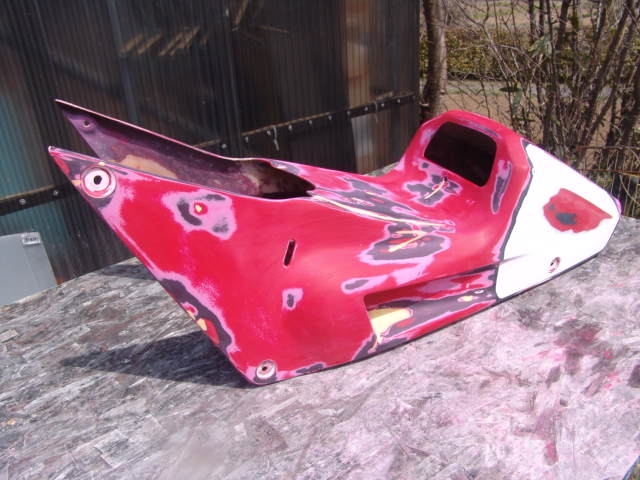
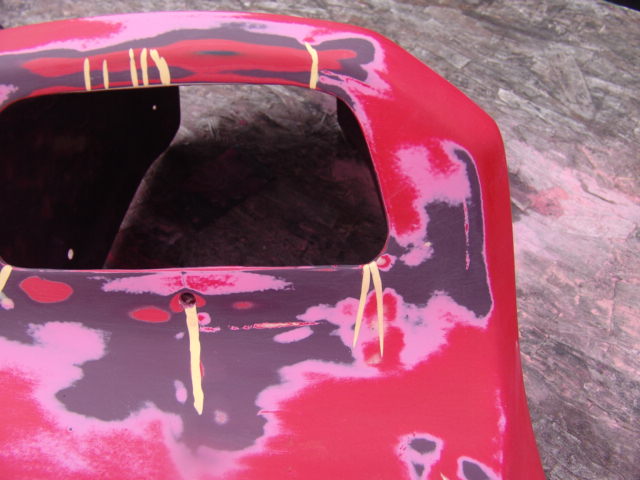
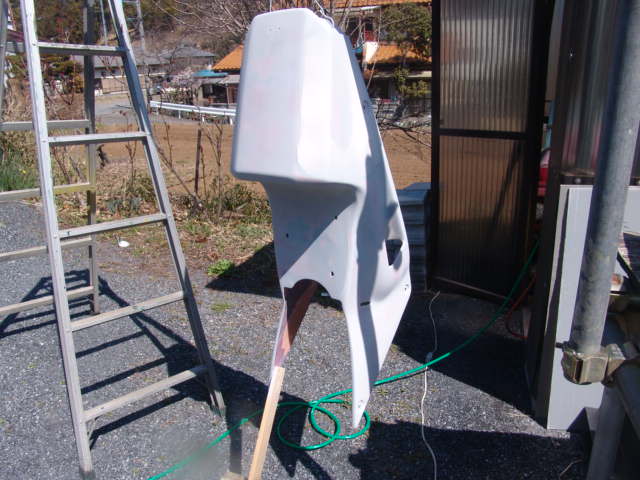
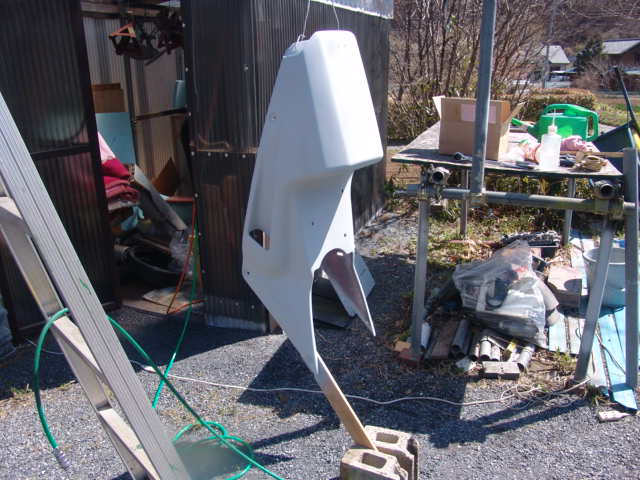
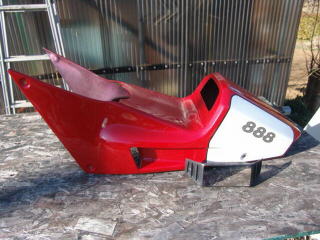
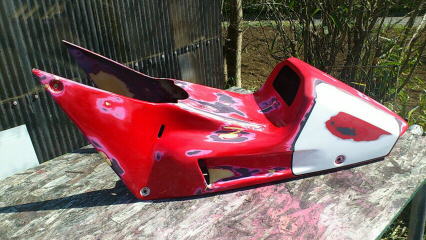
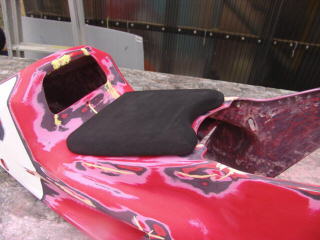
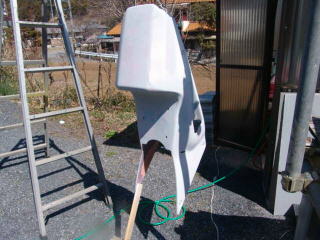
大分昔に購入したシングルシートです。シングルシート仕様に変更します。塗装が塗り重ねられていて、補修の後も多いです。ひびも多く、パテ補修して塗装は自分で行う予定です。色合わせが大変です。
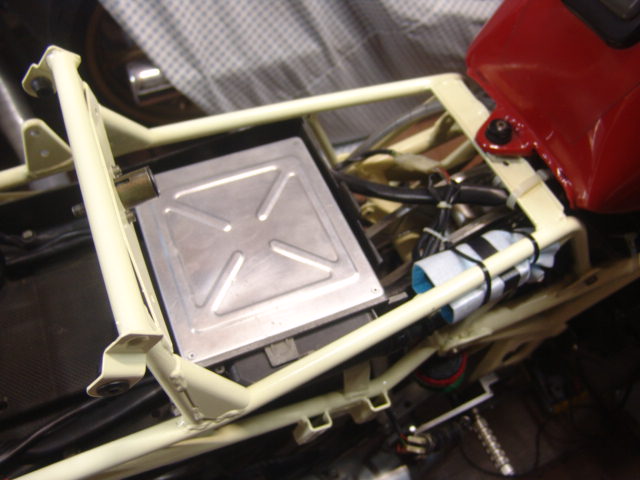
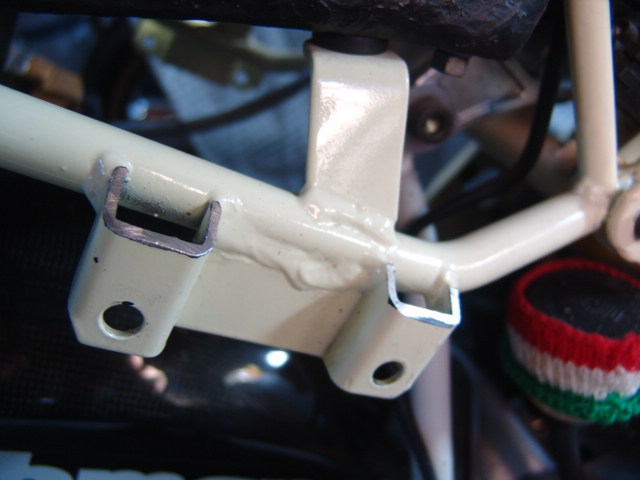
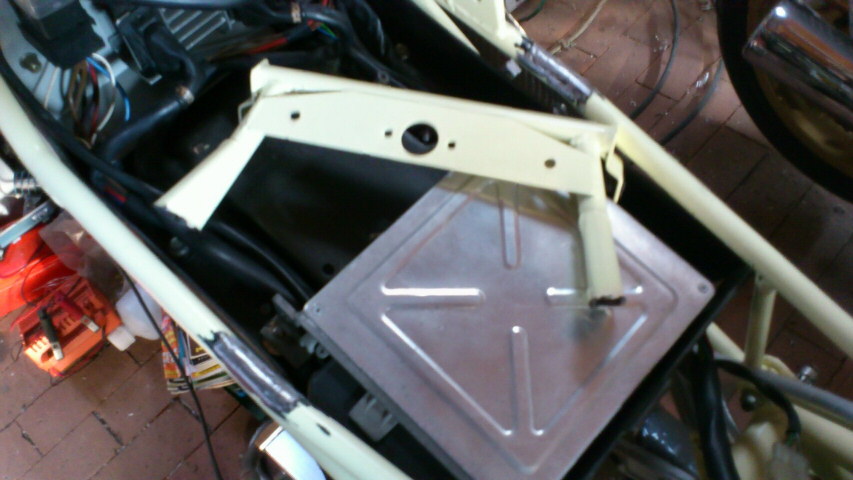
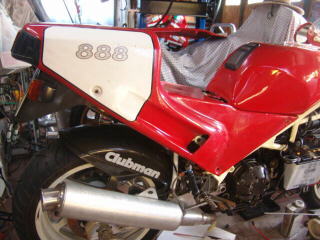
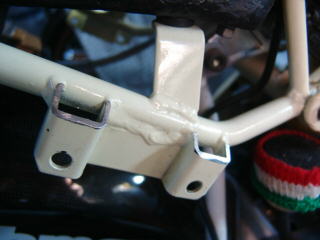
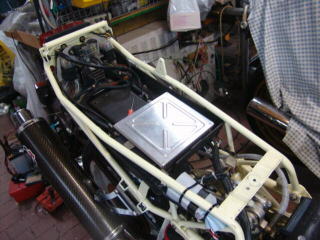
2人乗りサブフレームのまま、とりあえず載せてみました。マフラステーが少し干渉しているので削りました。
3月25日
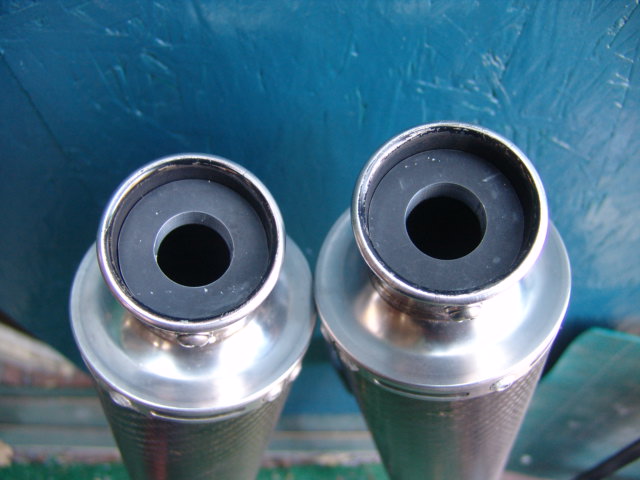
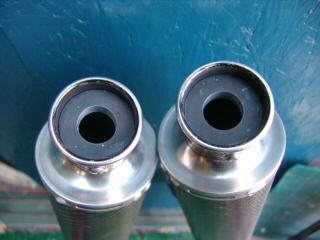
テルミニョーニ用のバッフルを作製します。以前に市販のインナーサイレンサを入れましたが消音効果が低かったです。1インチのアルミ板をプラズマカッタで切り取ります。
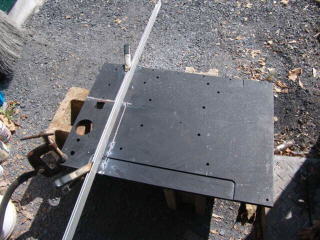
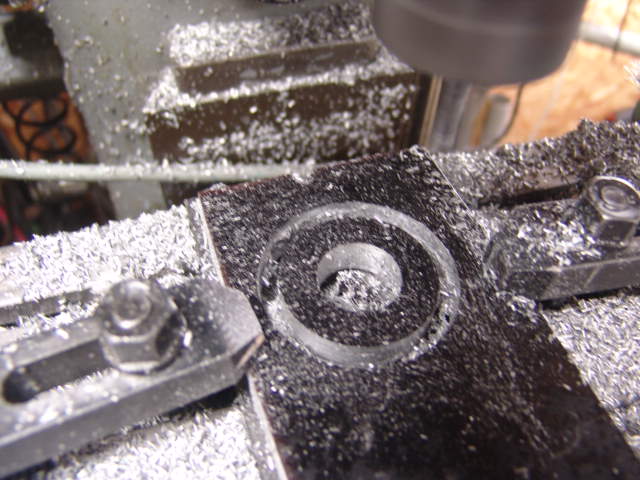
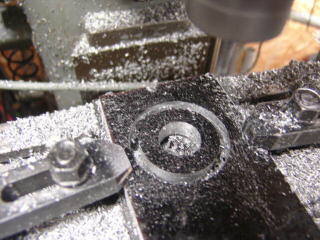
CNCでバッフルを切り出します。タップを立てて取り付けました。
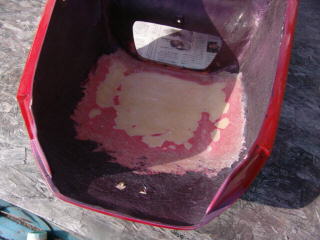
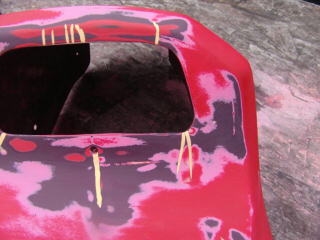
シングルシートの裏側です。小物入れの上側にFRPが厚く積層されているのでディスクグラインダで削りました。触った感じでは10mmくらいありそうです。半分くらいになっと思います。ん〜体中がちくちくします。
4月1日
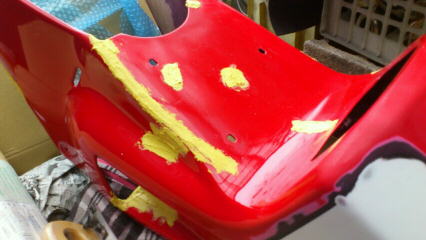
先週の続きのシングルシートです。ひびの入っている部分はディスクグラインダで処理します。888ステッカはサンドペーパーで落とします。

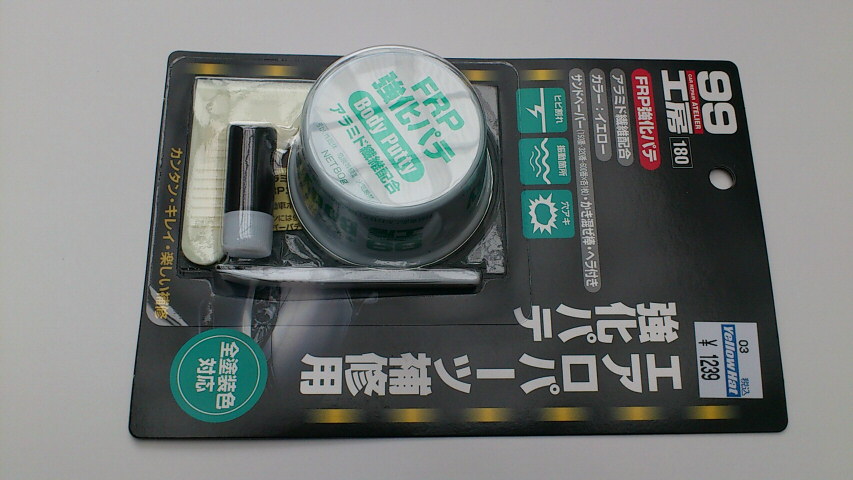
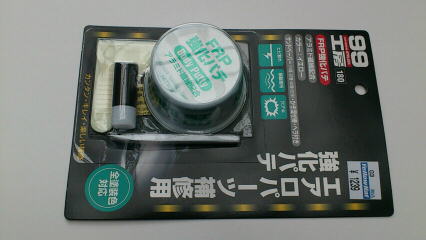
近所の車用品屋で購入してきたケブラ繊維入りのポリパテを使って補修します。
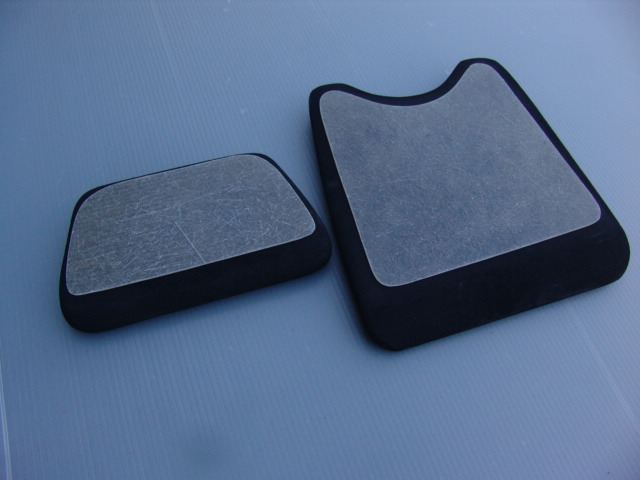
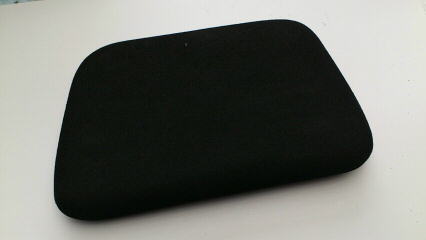
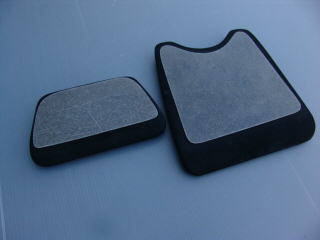
スポンジゴムを整形して腰当の部分を作製しました。
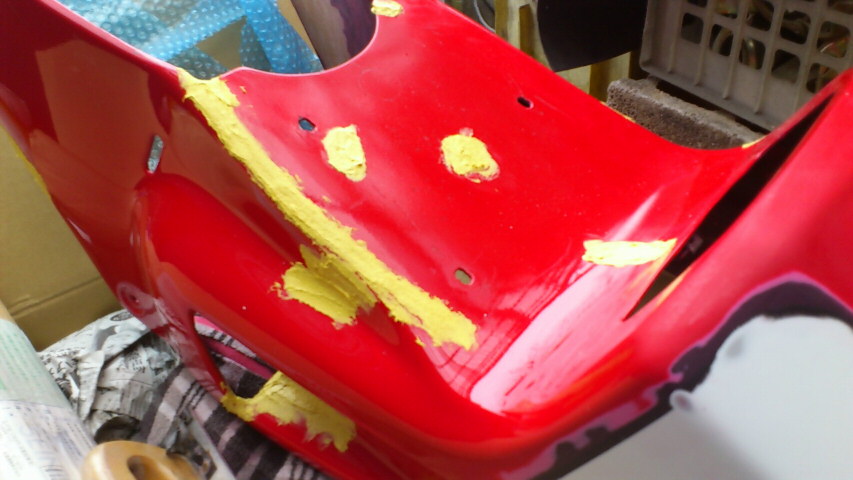
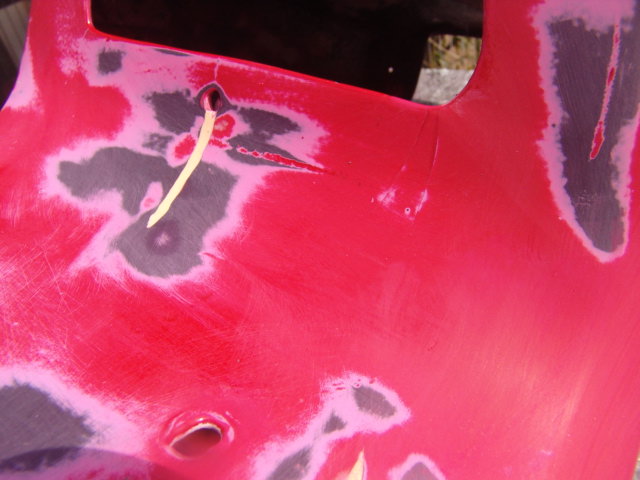
ポリパテの補修部をサンドペーパーで水砥ぎします。ピンホールが出てくるので、再度ポリパテで補修します。

2人乗り用のサブフレームのままでは小物入れに手が入らないのでディスクグラインダでカットしました。写真ピンボケでした。

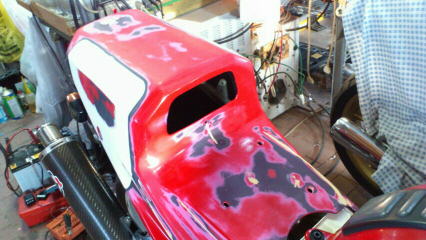
水砥ぎの終わったシートを仮止めしてみます。中々良いです。
4月7日
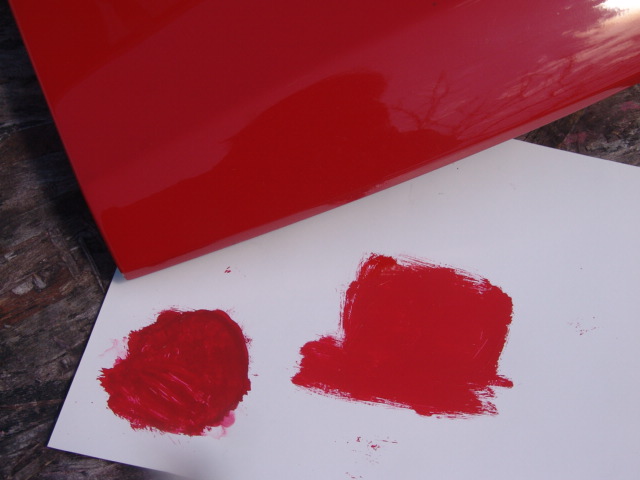
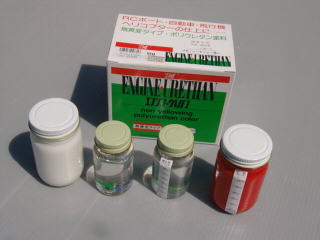
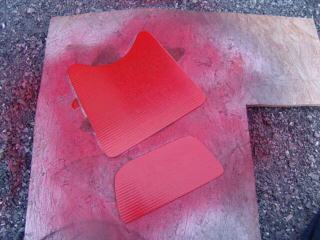
ラジコンショップの通販で購入した2液性のウレタン塗料です。サーフェーサ、赤と白です。赤は851の赤と比べるために購入してみました。ドカの赤は少し暗いストレートの赤に近い赤です。ウレタンの赤は朱色に近い赤です。目視では差が大きいですがデジカメで撮ると違いがあまり出ません。朱色に何を混ぜてもストレートの赤にするのは難しそうです。試しに黒を混ぜてみました、ウレタンの赤はあきらめるか〜

シートの水研ぎ中にひびを発見しました。ケブラーパテで埋めておきます。

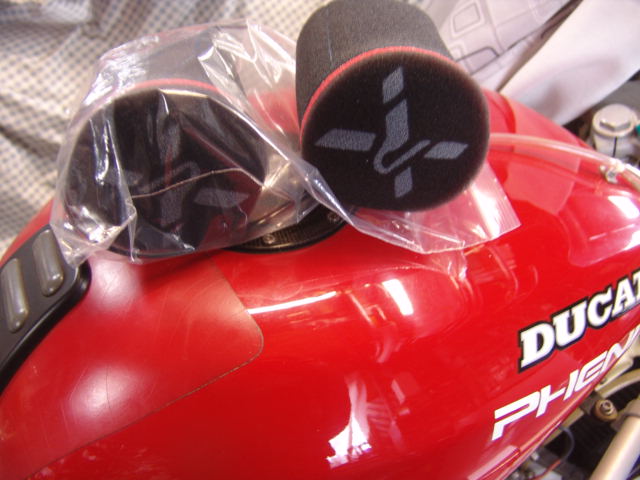
こちらはオークションで購入したパイパークロスのエアフィルタです。元々付いていたのはトライトンに使いまわして、フィルタ無しでした。早速取り付けました。


先週、切り取った邪魔になっていたサブフレームのステーの削り痕をウレタン塗料でタッチアップしておきました。フレームに塗ったウレタン塗料は多めに作って取ってあります。
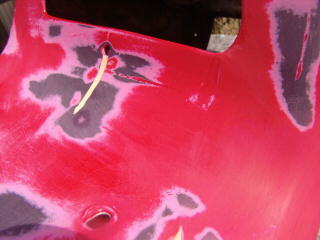
シートの続きです。スポンジゴムを整形して座面部作りました。また、細かいひびが見つかりました。
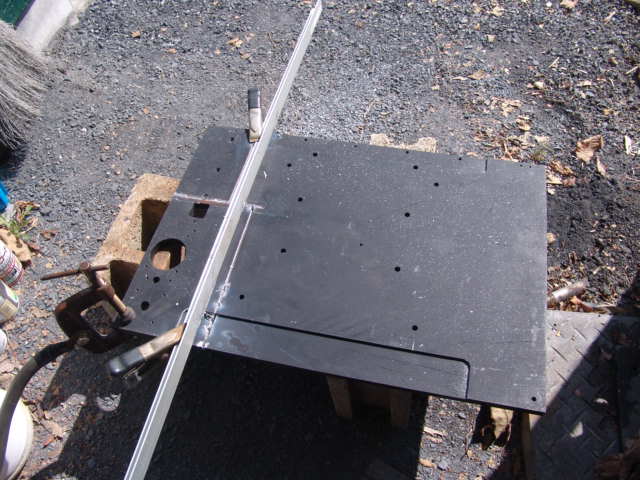
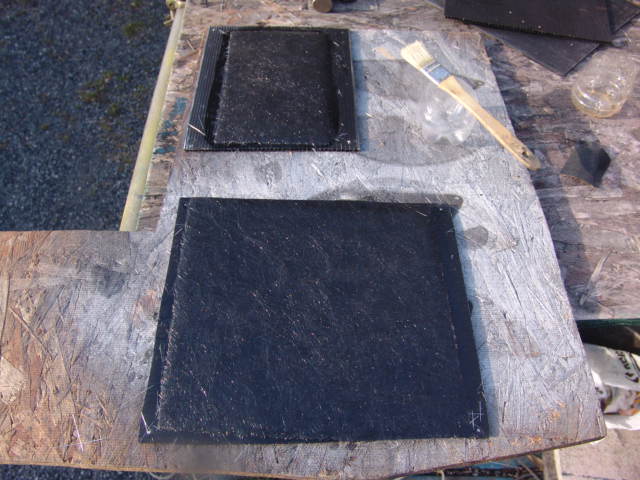
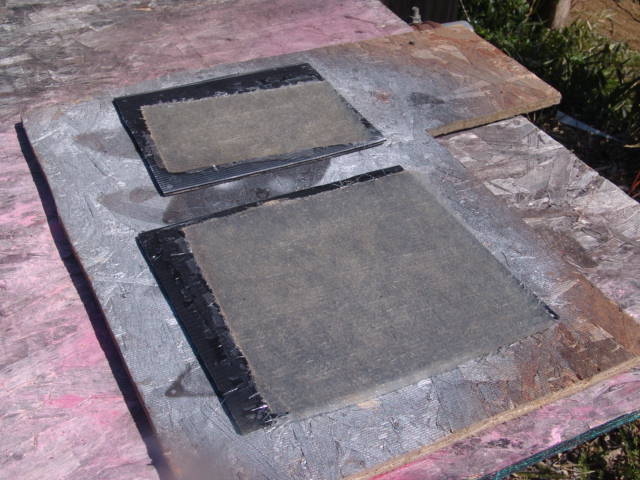
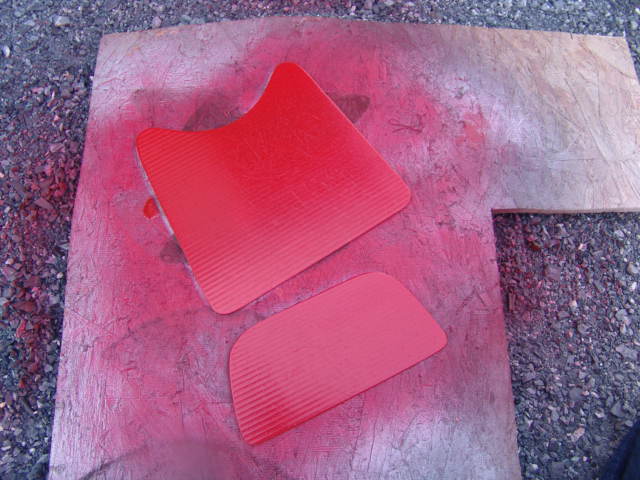
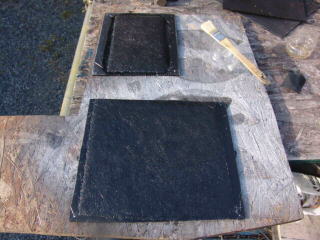
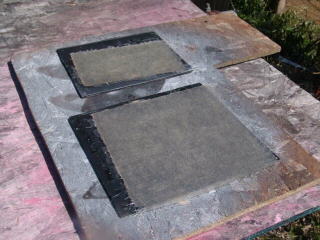
座面、腰当部スポンジゴムの裏に貼るFRP板です。ガラスマットをプラダンの上に2層積層しました。
4月8日
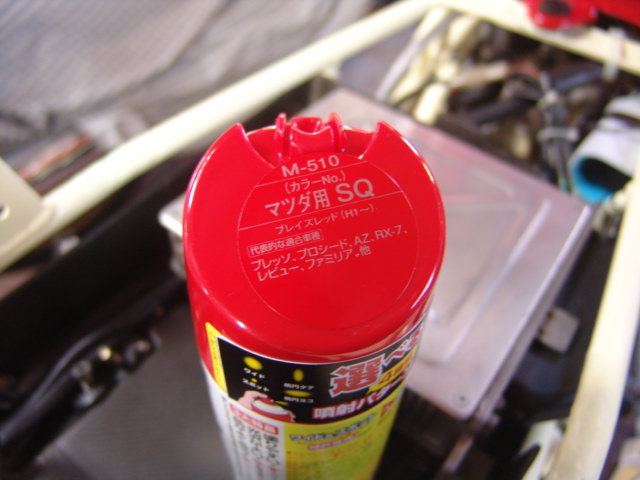
近くの車用品屋で購入してきた車補修用の缶スプレーです。851の部品を持て行き、なるべく色が似ているものを購入してきました。マツダの純正色です

細かいひびはいつまでやっても切りが無いので、ここで通販で購入したウレタンサーフェーサをガン吹きしました。

FRP板を離型しました。
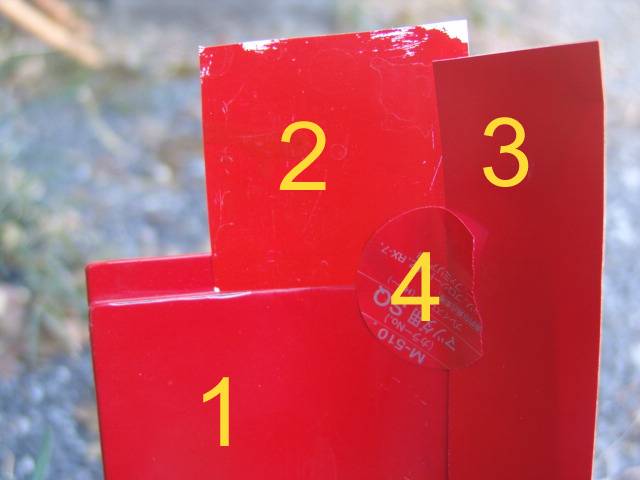
缶スプレーの色確認です。1はオリジナルです。2は2液性ウレタン、3はマツダ用缶スプレー、4は缶スプレーの色見本です。デジカメで撮るとあまり違いが出ません。目視ではかなり違うのですが。

FRP板を整形して、缶スプレーで塗装しておきます。
サーフェーサを600番のサンドペーパで水砥ぎしました。