セヴンの全バラ・レストア
その6
セヴンのレストアを紹介していきます。
2006年
4月8日
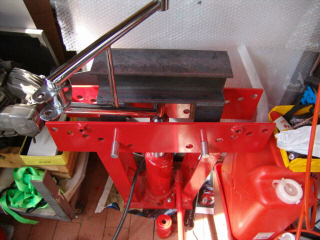
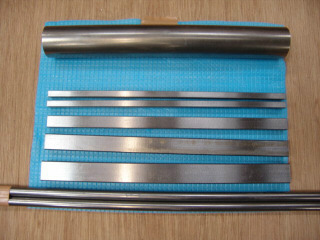
ガレージに”とくきん”で購入した金属材料が来ていました。太いのはΦ40mmS45C(セミオートマ用の部品)、角棒はフライス用の敷き板に使います。一番したの丸棒はΦ12mmのS45Cです。Φ12はフロントアームの貫通ボルト用、以前買ったのはL=300mmでちょっと短かったので今回は500mmで買いました。
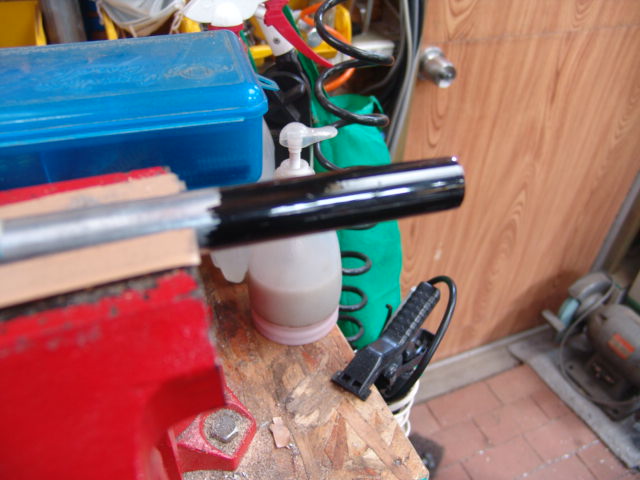
POR−15の試し塗りです。アルミ棒にハケで塗ってみました。写真はピンボケ。ハケでも綺麗に塗れて、艶も良いです。難点は2度塗りの時間が規定されていること、乾いてから2回目を塗っても密着性が悪いようです。1回目が完全に乾く前に2回目を塗る必要があります。フレームを塗る時には部分的に仕上げて行く必要がりそうです。

4月9日
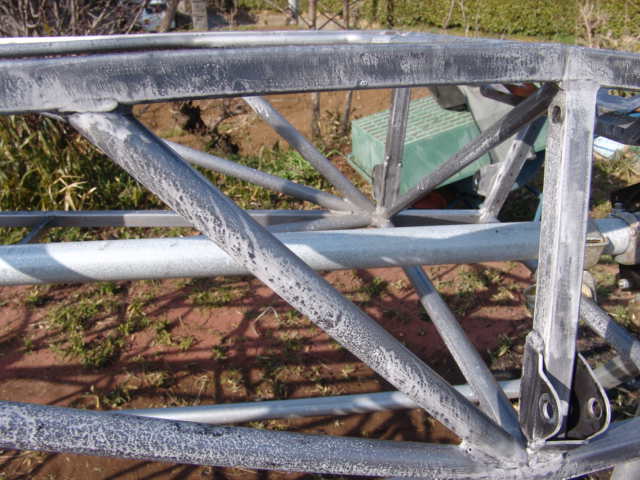
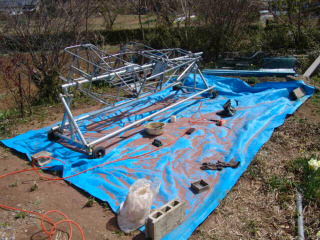
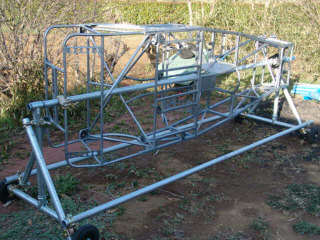
天気が良くなりました。先週のづづきです。後側の細かい所をサンドブラストします。ブルーシートの打ちっぱなしなので、サンドの回収率は60%くらいでしょうか?ブラスト後、サンドスポンジ(粗目)でブラストしていない部分を軽く磨きます。
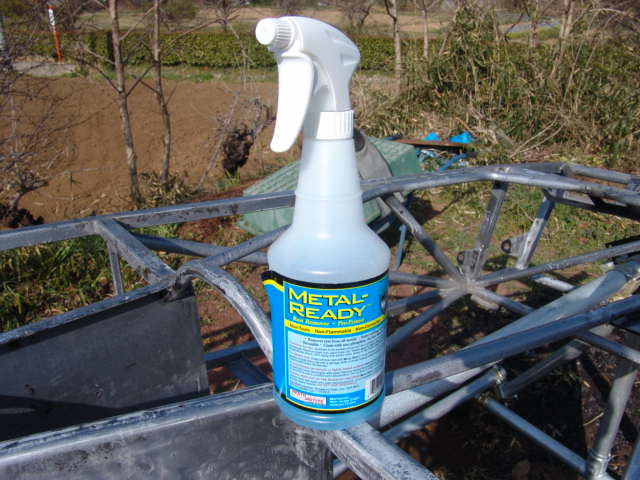
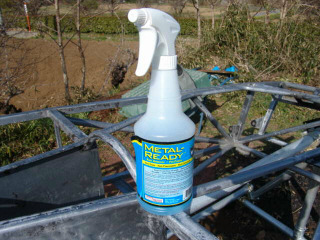
ブラスト/磨き後、メタルレディをかけます。白い泡が出てきて、鉄表面が少し灰色になります。30分くらいしてから、濡れ雑巾で泡をふき取ります。

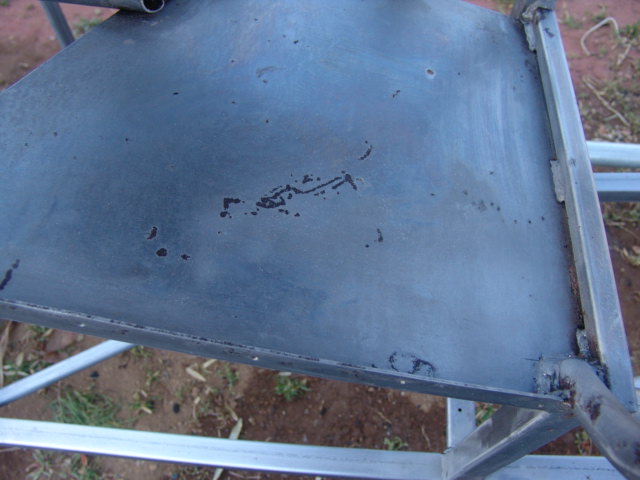
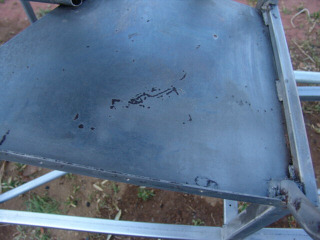
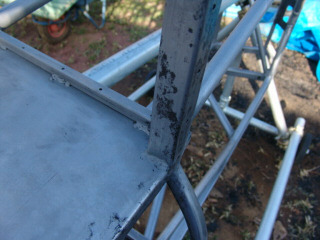
処理後は錆の部分は黒く変色します。
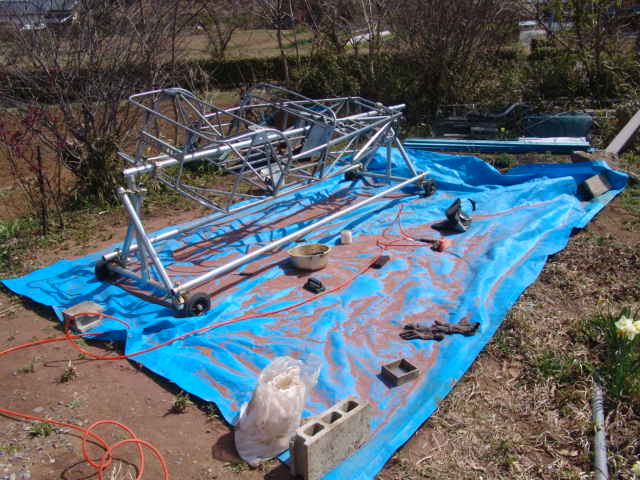
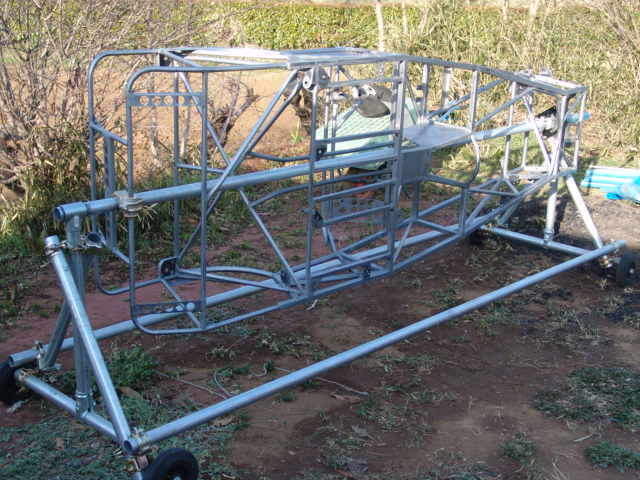
下処理が終りました。ガレージ横の細い通路を通って(坂で土が柔らかく、コンパネを敷きながら移動、移動は凄く大変)フレームをガレージに戻しました。

4月16日
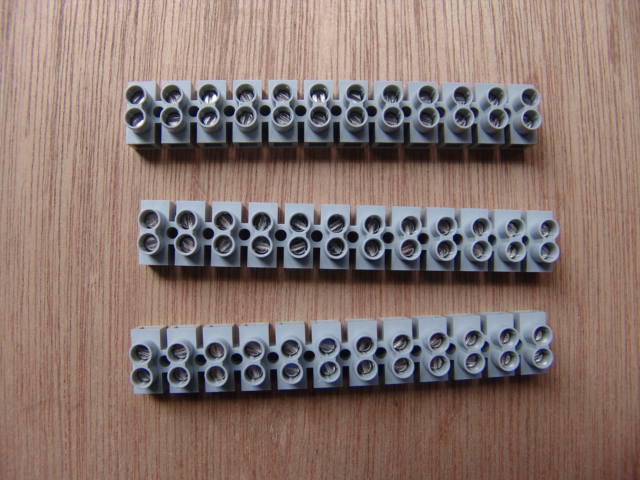
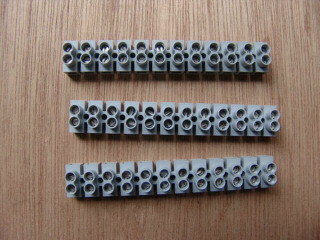
秋葉原で買ってきた端子台です。オリジナルより端子間の幅が広いと思います。
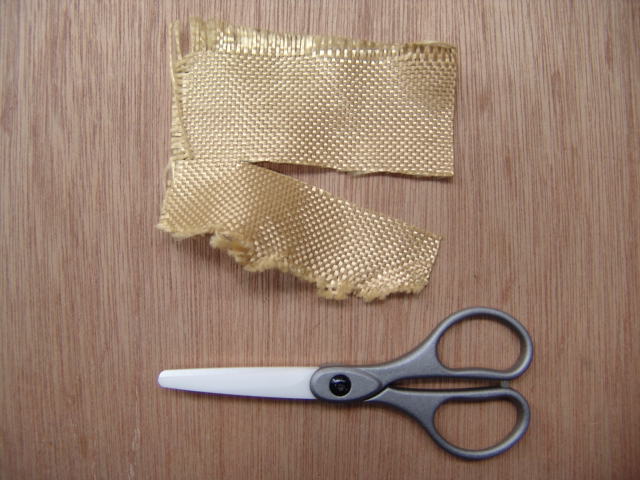
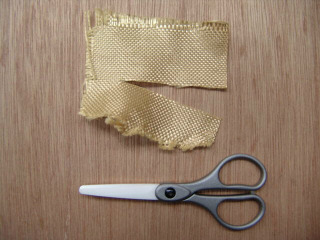
こちらはオークションで買った京セラ製のセラミックのハサミです。ケブラも切れます。普通のハサミだとほとんど切れません。
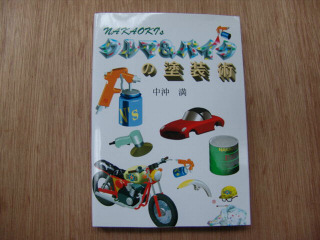
こちらは中野満氏の”クルマ&バイクの塗装術”です。
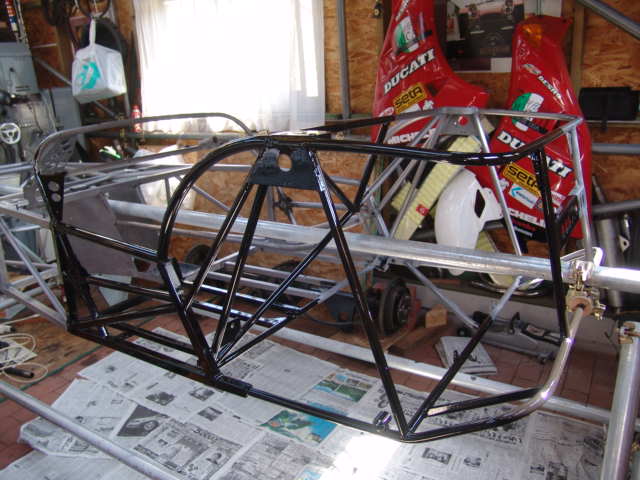
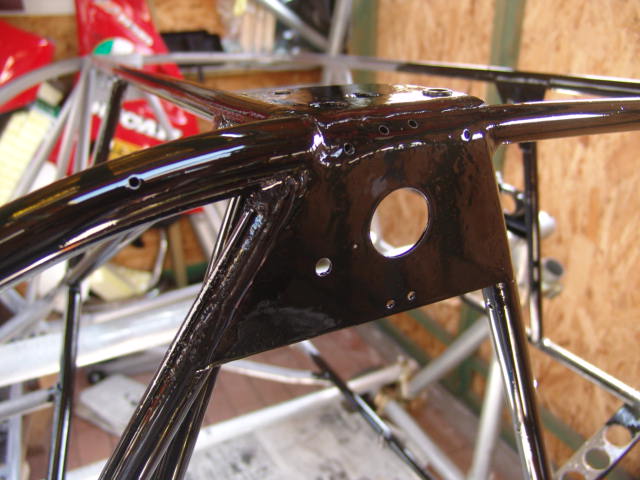
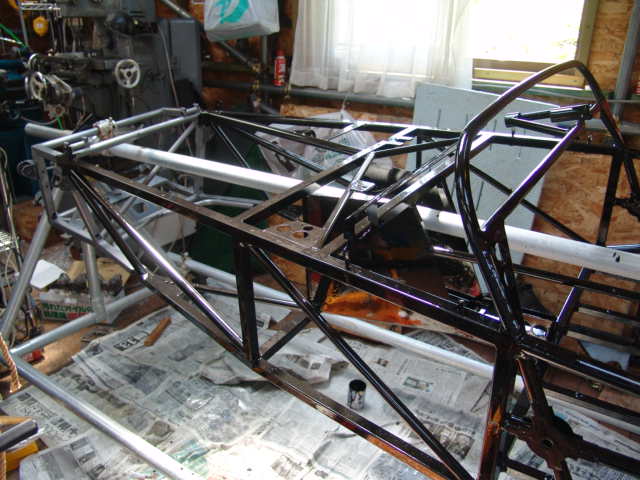
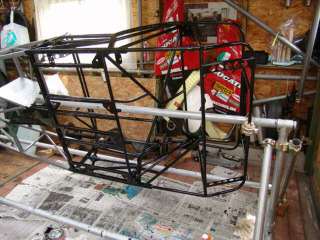
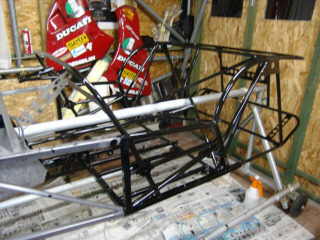
フレームの塗装を開始しました。POR−15でハケ塗りします。2度塗りまでの時間が決まっているので、1/4づつ塗ります。
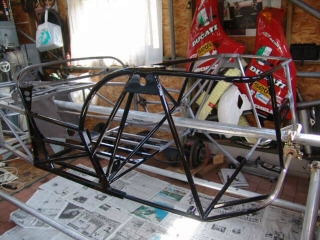
4時間くらい間を開けて、2回目を塗り終りました。
4月22日
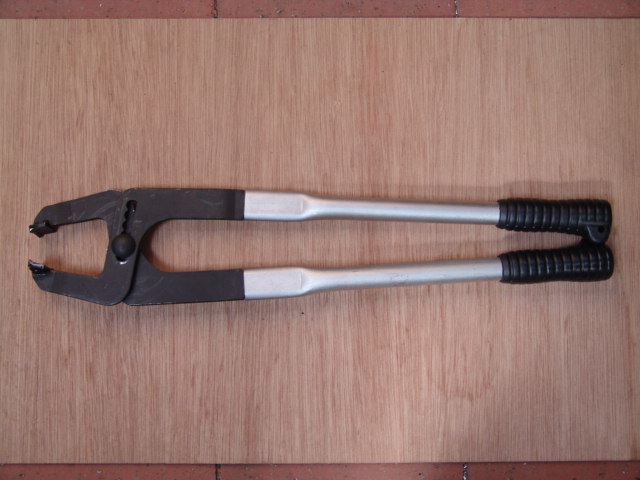
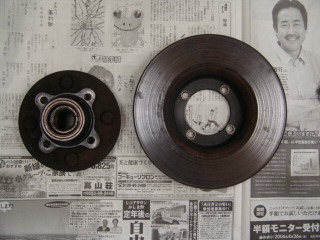
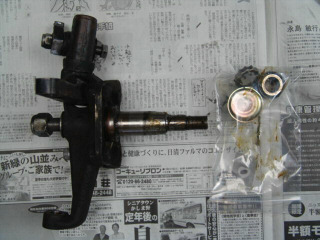
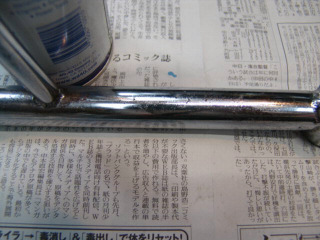
ハブのオーバホール用に近くの輸入工具屋で購入したキャッププーラです。
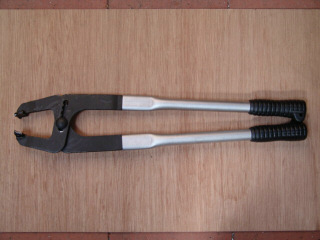
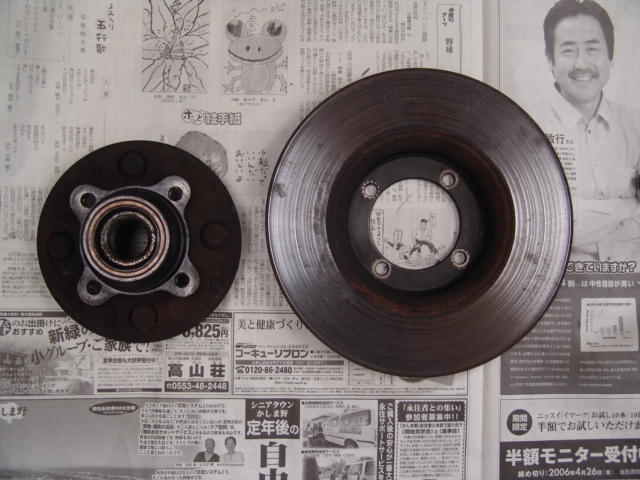
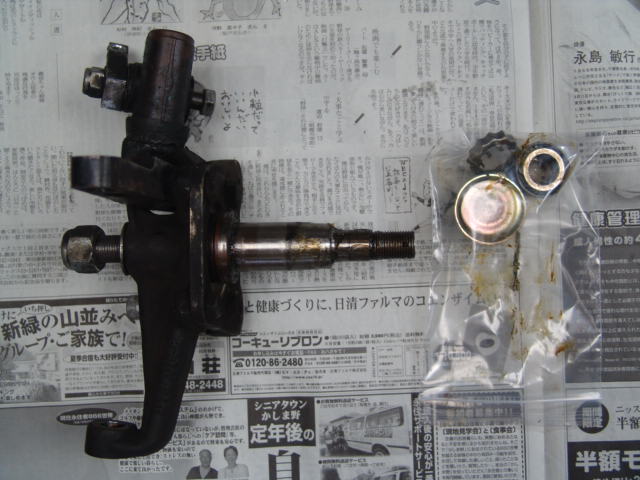
早速フロントのハブを分解してみます。走行距離は2万5000kmくらいですが、ベアリングは交換せずにグリスアップだけて再利用できそうでした。
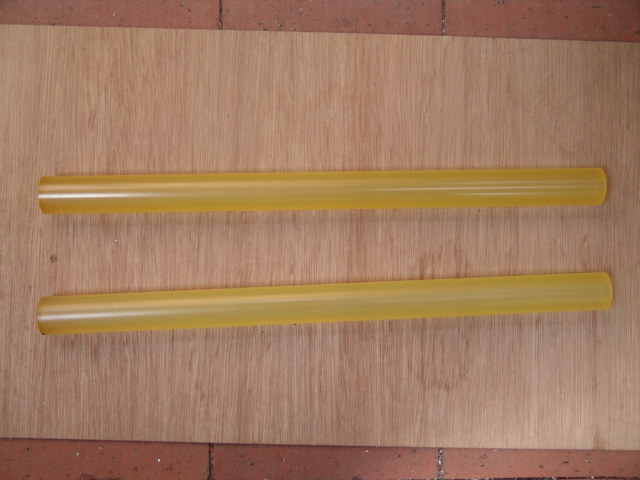
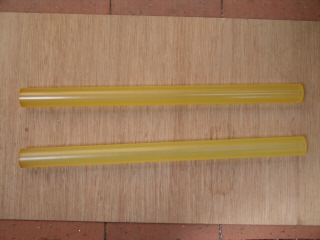
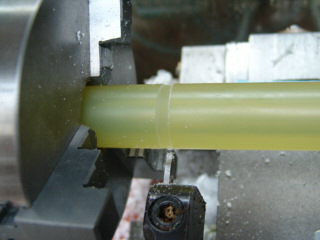
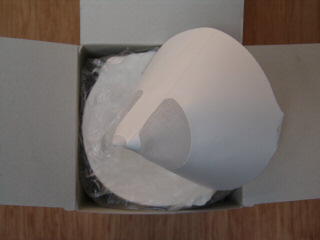
”Monotaro”で買ったウレタンパイプです。内径Φ15mm、外形Φ35mmです。フロントアームのブッシュを作る予定です。硬度90というウレタンです。旋盤で削れるが試してみました。一応問題なく削れるよです。内側はΦ12−15のスリーブを入れる予定です。
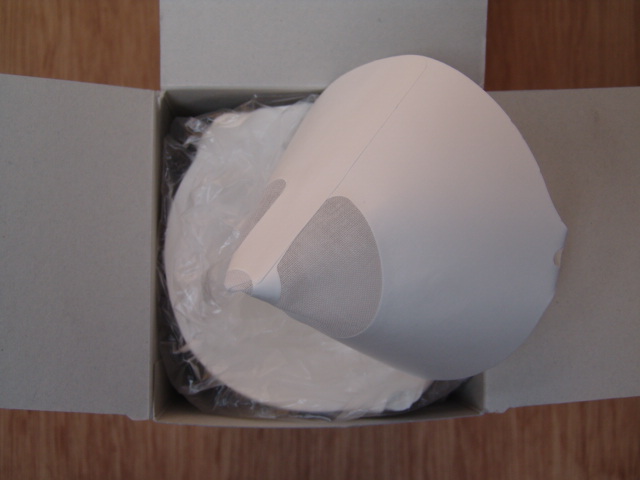
こちらはも”Monotaro”で買った塗装用のストレーナです。FRPのフロント・リアのフェンダは2液ウレタンで塗装をする予定です。
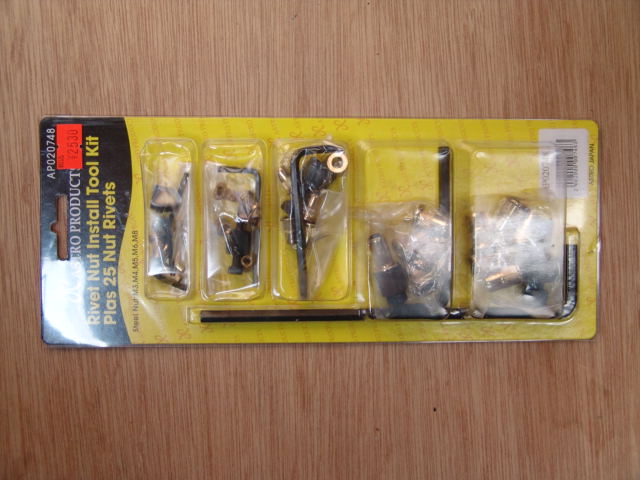
これも工具屋で買ってきた、ブラインドナットです。6mmと8mmも入っています。専用のマンドレルがついていてナッタがなくても固定できます。

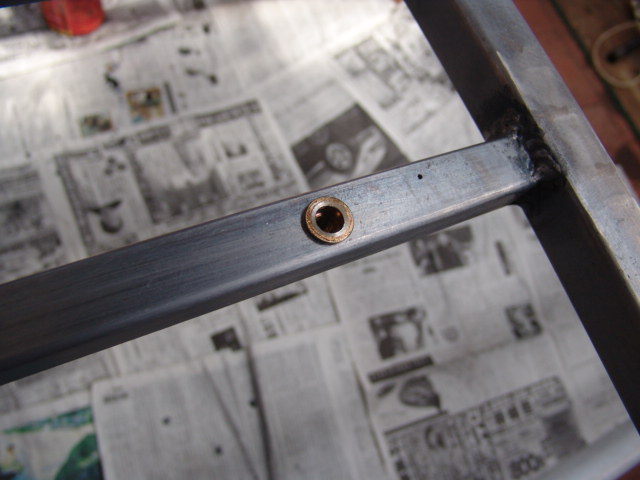
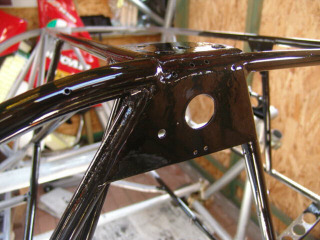
早速、運転席側のシート固定用のナットに使ってみます。14mmのメガネでマンドレルを固定して付属のキャップボルトを締めこむと固定できます。6mmのナットを4つ使いました。
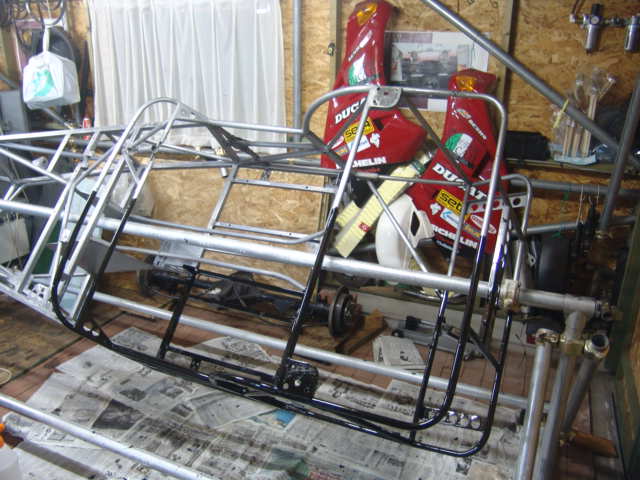
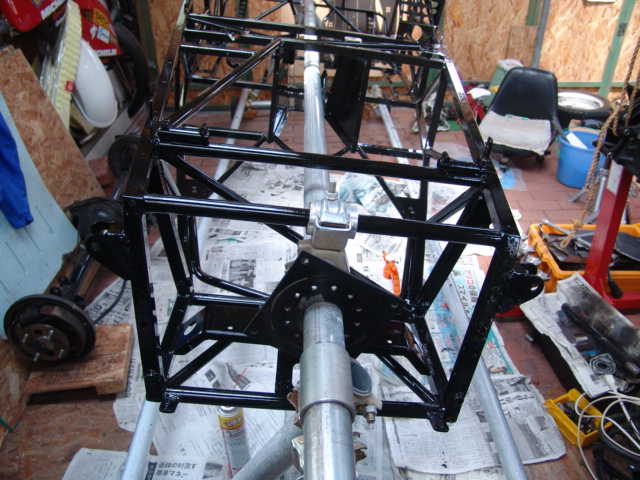
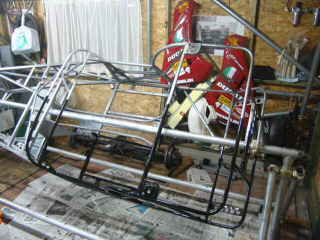
先週の続きでフレームをPOR−15で塗ります。右後側を4時間くらい開けて2度塗りしました。だいたい1日でフレームの1/4が塗れます。
5月3日
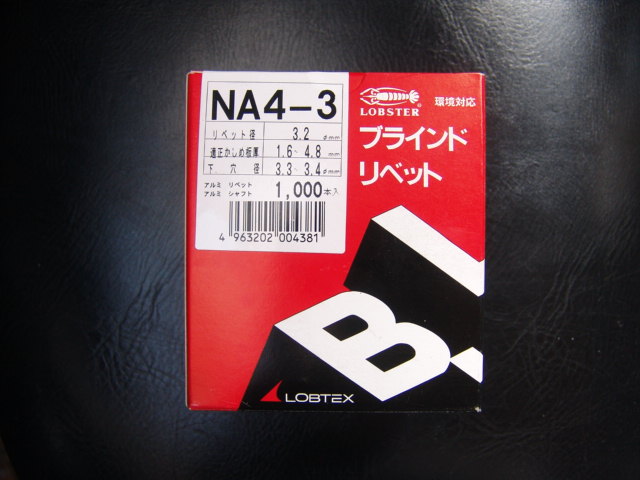
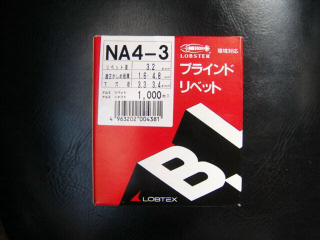
リベット屋さんの通販で購入したブラインドリベットです。フランジがアルミ、シャフトもアルミの物を購入しました。
5月4日
フレームの塗装の続きです。時間を開けて2度塗りしました。先端部が少し残っています。
5月5日
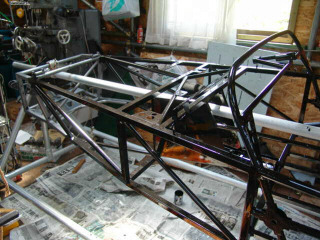
残っていた最先端部の塗装を行ないました。これでフレーム本体のPOR−15を使った塗装は修了しました。今後はエンジンマウントやリアアームなどの塗装をする予定です。小物はPOR15をガン吹きする予定です。

5月7日
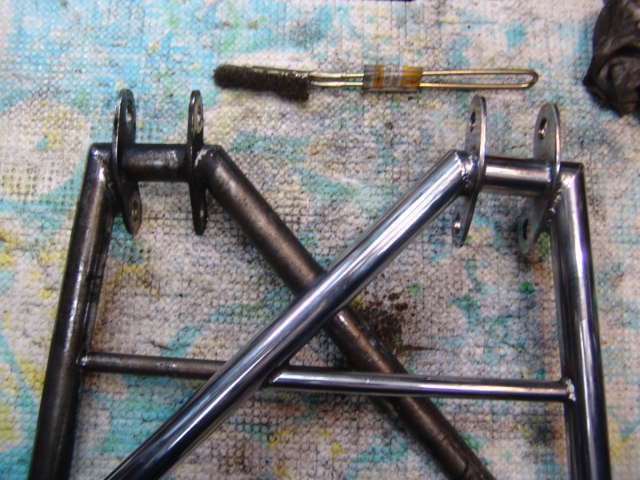
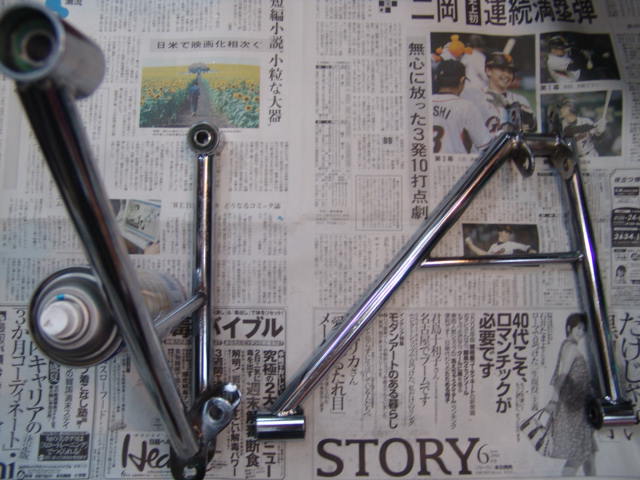
フロントアームの汚れを落して、メッキの点検を行ないました。日頃CRCなどをかけていたので、汚れが落ちるとメッキ部はけっこうきれいです。
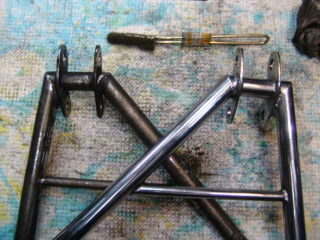
アッパアームです。ボールジョイントの塗装は剥がれていますが、メッキはきれいです。ボールジョイントのみ塗装します。

ロアアームの片方が少しメッキが落ちて錆が出ていましたが、ブッシュのみ交換してこのままの状態で組み付けます。ブッシュですがものによってはかなりきつく圧入されていることが判りました。万力では抜けないものもあります。

5月13日
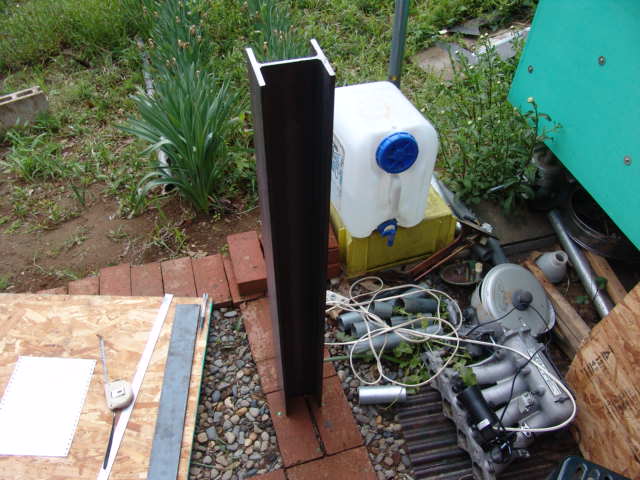
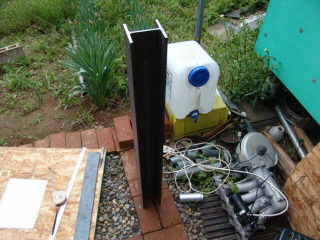
オークションで購入した10センチ角のH鋼がきていました。1mで3000円、パイプベンダの上に付けて、簡易の油圧プレス(フロントアームのブッシュ抜きアダプタ)を作製します。
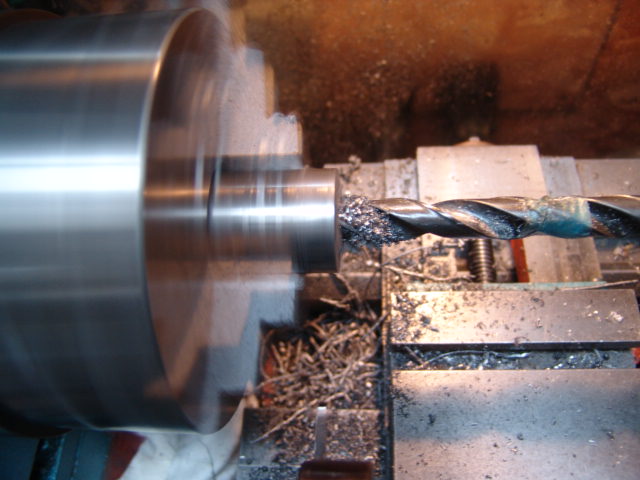
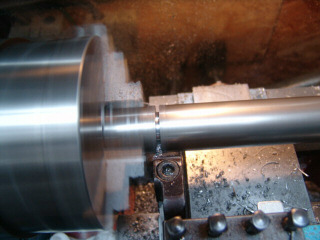
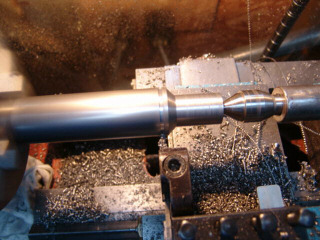
アームのブッシュ抜きをS45C材から削ります。下は外側を作製しているところ。短く突っ切った後にセンタ穴あけ加工します。
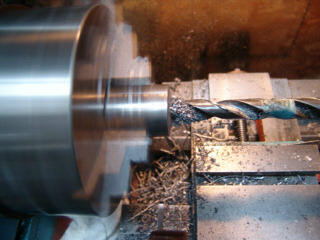
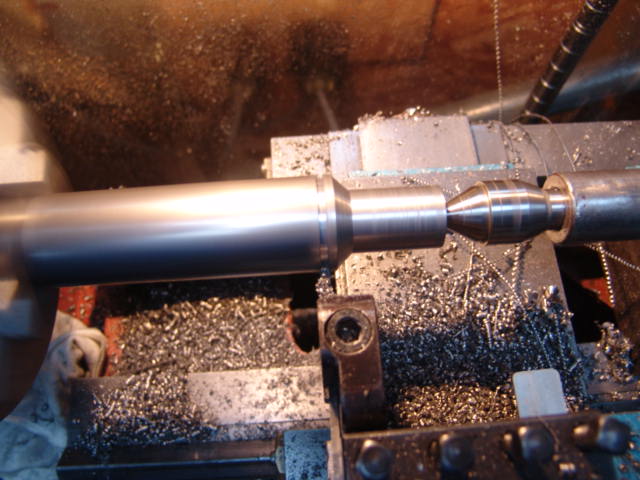
下は内側です。外形が完成した後、突っ切っているところ。
5月14日
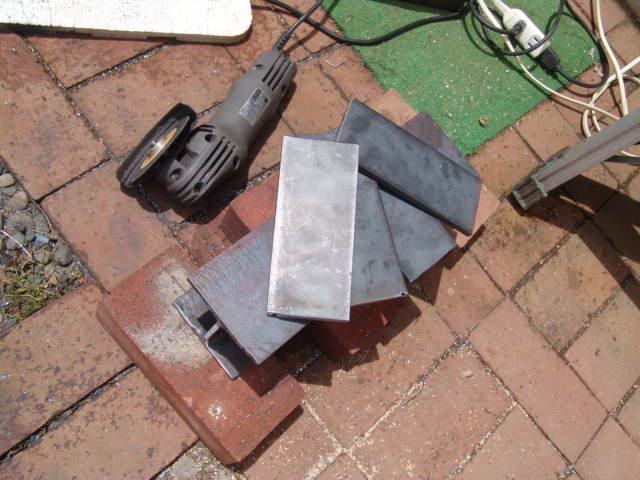
H鋼と9mm厚の平板を所定の寸法にプラズマカッタで切断します。

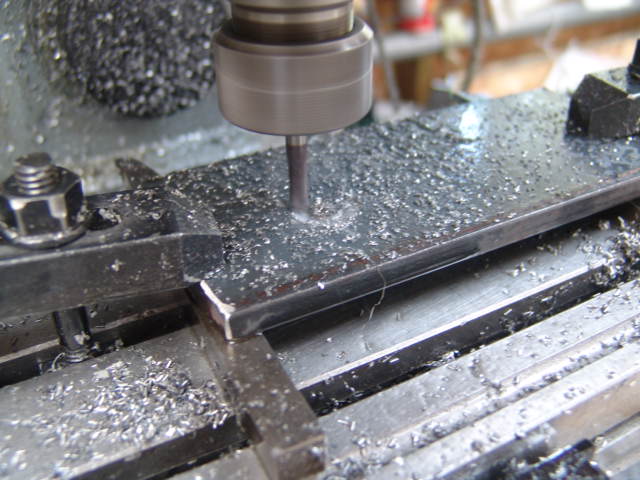
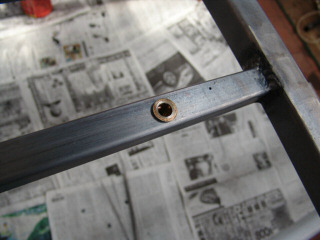
平板にΦ22の丸穴をフライスで開けます。4つ作ります。


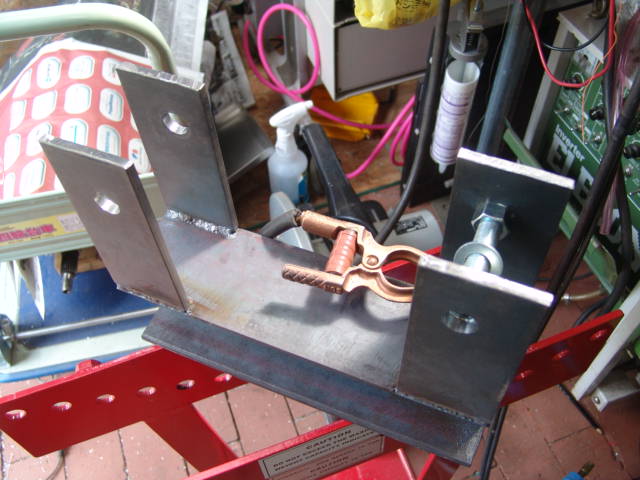
開先処理をした平板をTIGでH鋼に溶接します。
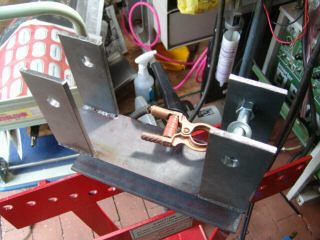
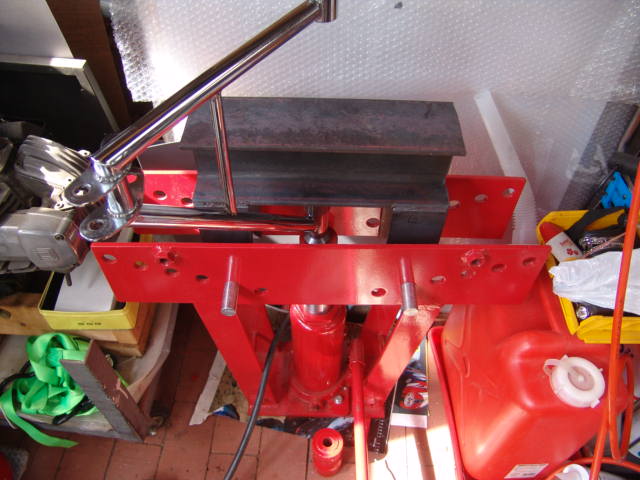
完成した簡易油圧プレスのアダプタとブッシュ抜きです。
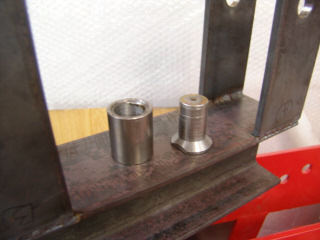
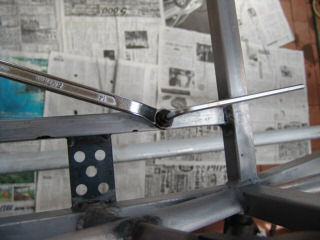
早速使ってみます。パイプ曲げのジグの代りにH鋼とブッシュ抜きをセットして手動で圧力をかけるとすんなりブッシュが抜けてきました。